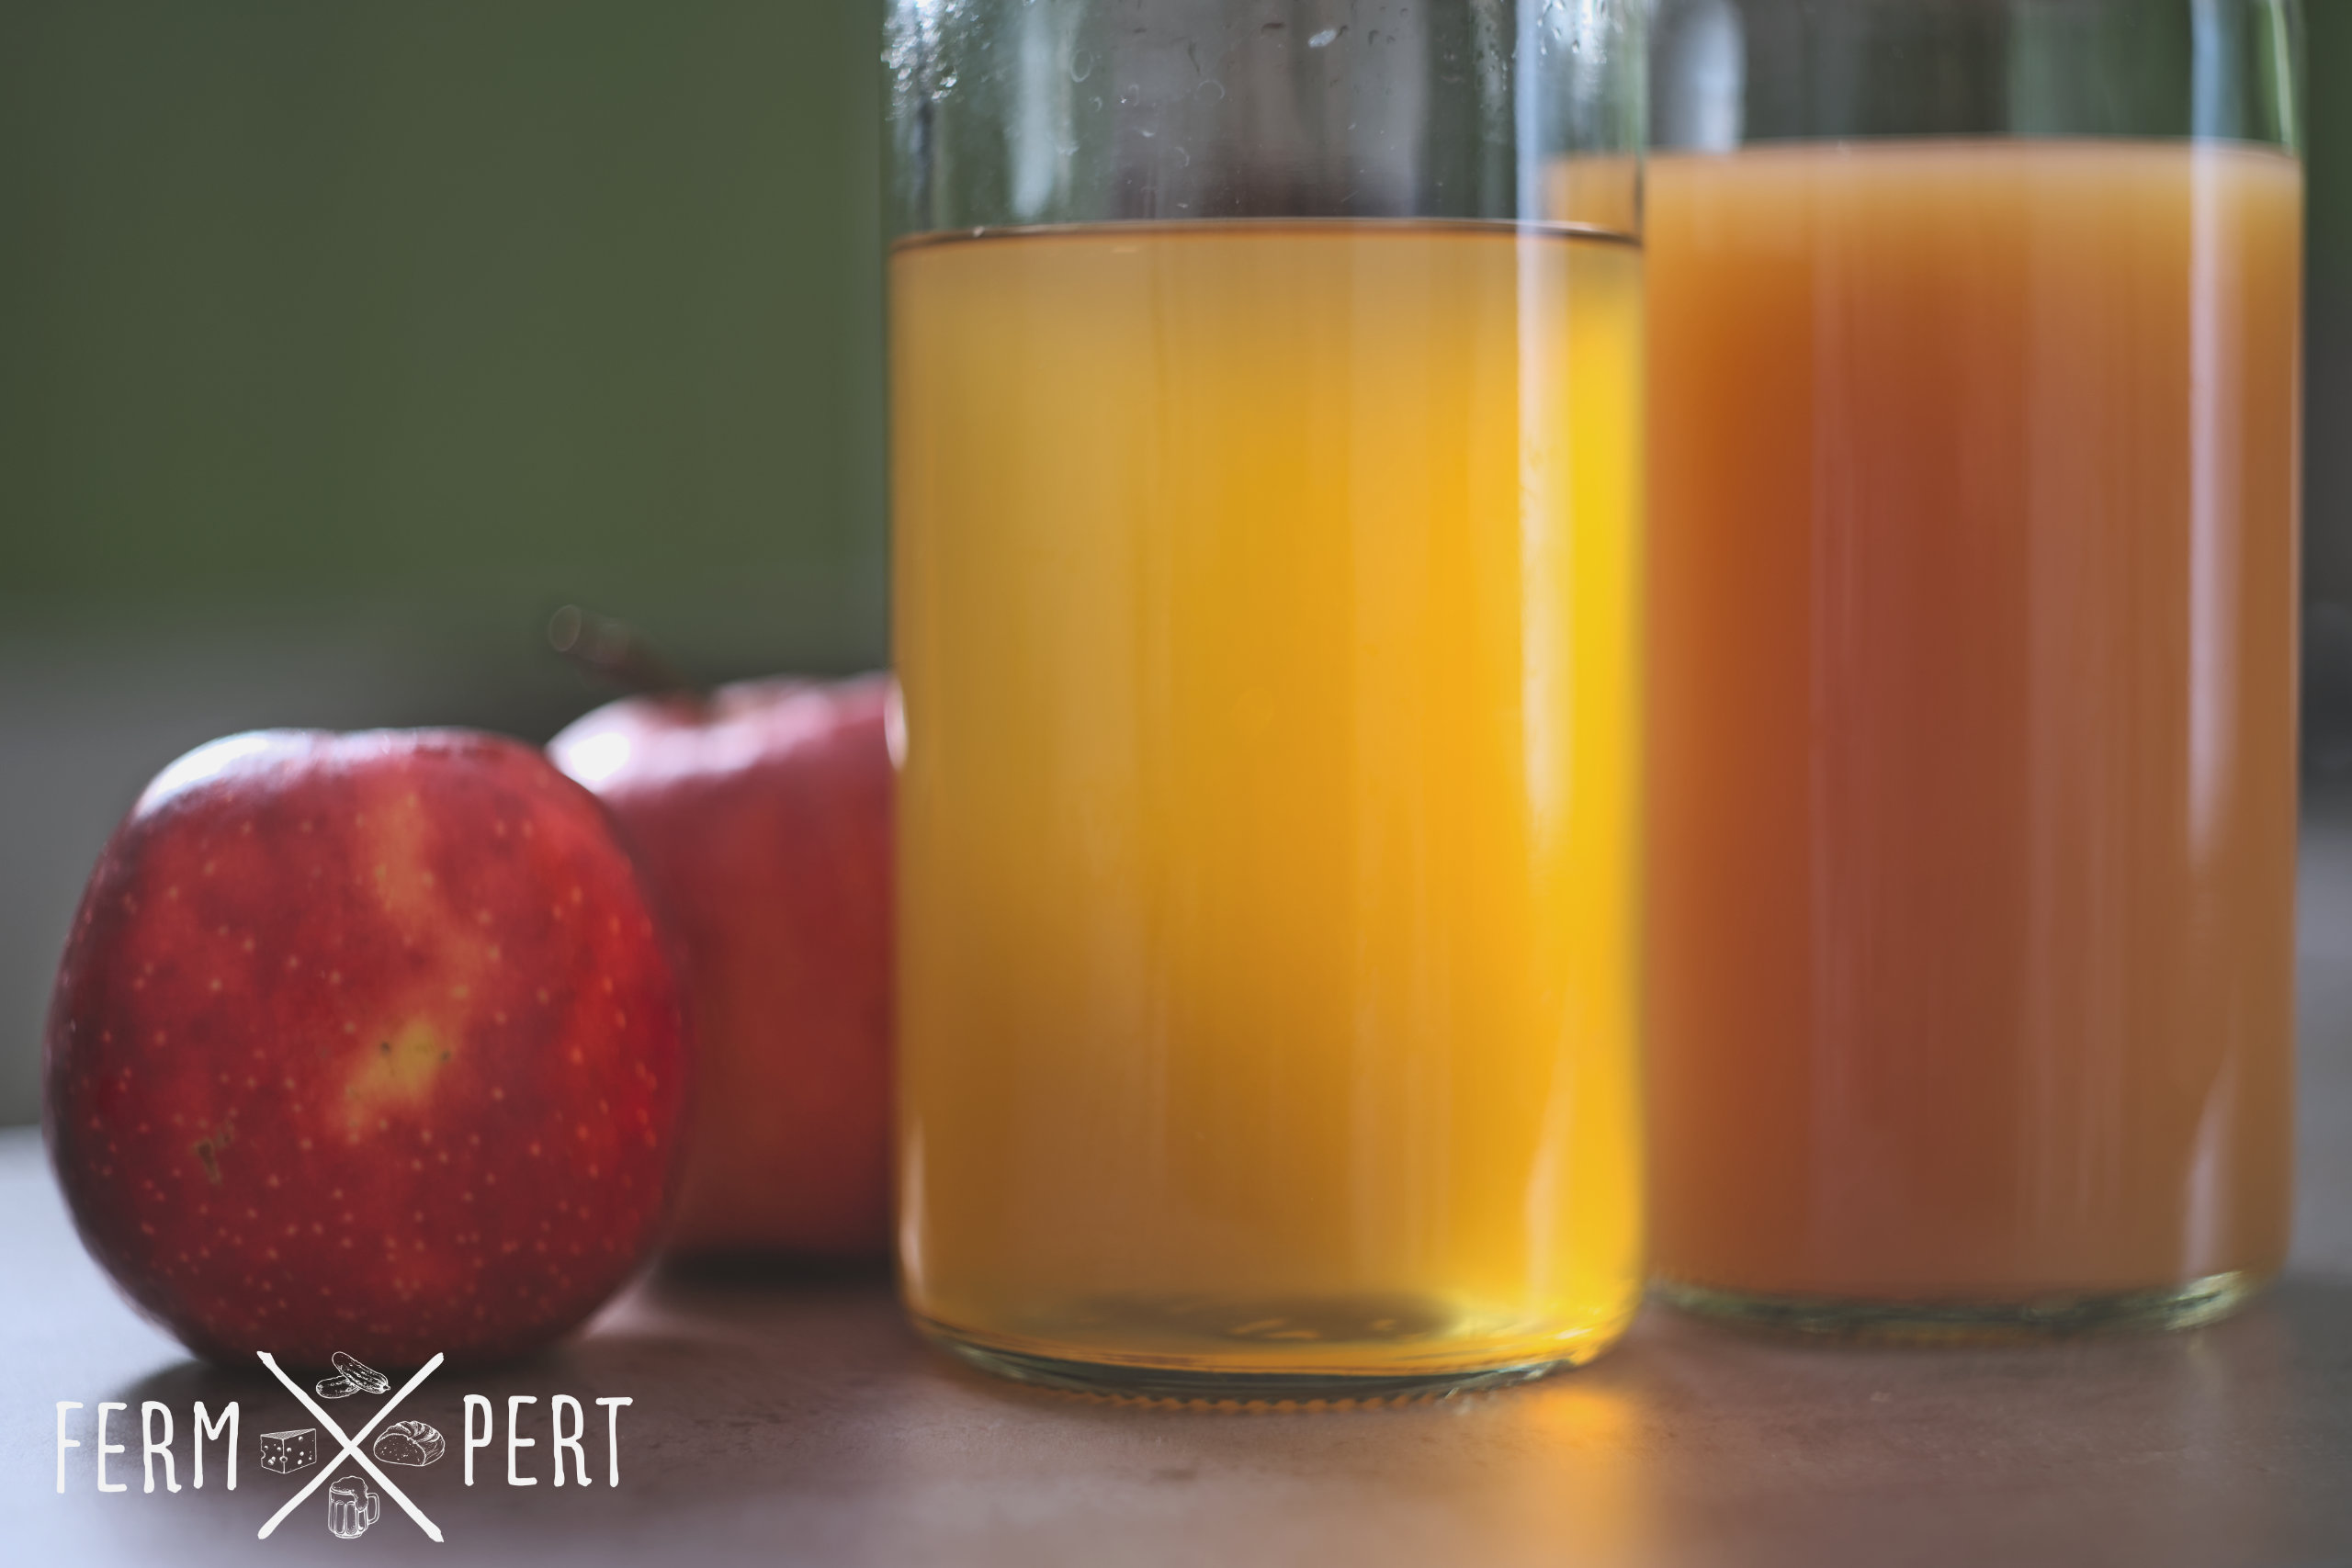
Apple vinegar (aka apple cider vinegar, ACV) is considered to be a healthier alternative to distilled white vinegar. It’s got its own character, a pleasant taste and it can be found unpasteurised, with live acetic acid bacteria cultures. Or, better yet, it can be made at home.
Recipe
The preparation of apple vinegar consists of two steps that correspond to two different fermentations. Many recipes suggest running the two fermentations in parallel, often by relying on wild yeasts present on apples. Due to the different character of both fermentations and the issue of control over the yeast and bacteria strain usage, separating the two fermentations can potentially result in a tastier vinegar in the end.
Step 1: Ethanol Fermentation
The necessary ingredients are:
- apples,
- cider yeast.
A fermentation vessel will also be needed. It needs to have an airtight seal and an airlock. A jar or a bottle can be prepared like this.
A kilo of apples usually results in just under 500 ml of vinegar. Press the juice from the apples. Instead of doing this, it’s also possible to use store-bought apple juice. In such a case, I recommend looking for a not from concentrate (NFC) juice with no added sugar. Pour the juice to a sanitised fermentation vessel, optionally straining the juice through a gauze to get rid of any solids from the fruit. Add yeast, close the vessel and set to ferment in a place away from direct sunlight. The ethanol fermentation creates carbon dioxide so if the vessel is airtight, escaping gas bubbles will start appearing in the airlock after a while. Let the fermentation finish. It usually takes a week. After the sugars are gone, the fermentation ceases, gas bubbles disappear from the airlock and the inactive yeast start depositing on the vessel’s bottom in the form of sediment.
At this stage, the juice has become cider (aka hard cider).
Step 2: Acetic Acid Fermentation
After the ethanol fermentation is finished, the second stage can begin. Only one additional ingredient is needed:
- a source of live acetic acid bacteria, e.g. unpasteurised apple vinegar
Store-bought vinegar with live bacteria cultures can be used here if a previous batch of home made vinegar isn’t available. Pour the cider created in step 1 to a sanitised fermentation vessel with a wide opening, such as a jar or a large beaker. The cider can be strained through a gauze again. It’s best to leave the yeast sediment behind. Inoculate the cider with the bacteria source. A few spoonfuls of vinegar per litre of cider is plenty. Cover the vessel with a cloth and a rubber band to allow oxygen access while blocking dust and insects.
Acetic acid fermentation is slower than ethanol fermentation and takes a few weeks. It’s recommended to get a pH meter and measure the vinegar pH every few days. The meter needn’t be properly calibrated as the important information is whether the consecutive readings indicate a pH drop or rise. If the pH is dropping, the fermentation is still ongoing. If it’s not changing, the vinegar is ready. If it’s rising, the fermentation has finished and the bacteria have started metabolising the acetic acid they’ve created. In the two latter cases, pour the vinegar into a bottle with an air tight seal, such as a flip top bottle, to cut off oxygen access and halt the microbial activity. The vinegar can be strained once again to eliminate sediment.
Additional Information
The ethanol fermentation is performed by yeast and it’s an anaerobic process, so it’s best to cut off oxygen access to the fermenting juice. An airlock is needed to vent the produced carbon dioxide. Cider yeast is the best choice but it can be substituted with beer yeast. Baker’s yeast is not recommended since it produces cloudy and not very tasty cider. I also don’t recommend relying on naturally occurring wild yeast. The effect of their activity is unpredictable: while the resulting cider can be great, it will often be the opposite, frequently underfermented due to wild yeast’s lack of alcohol resistance.
Acetic acid fermentation is in turn an aerobic process so it’s important to let the fermenting cider come in contact with oxygen. As with yeast, relying on naturally occurring airbourne bacteria is unreliable. It’s best to use an easily accessible source of controlled bacteria cultures, specialised in vinegar production. Such a source is a store-bought apple vinegar with live bacteria cultures.
During the acetic acid fermentation, a gelatinous membrane usually forms in the vessel. It’s the vinegar mother. It’s created by the acetic acid bacteria and it’s completely natural and desired. It can be used as a bacteria source for another vinegar batch – just toss the mother to a cider container instead of pouring vinegar in.
Video Transcription
I’ve never been a huge fan of vinegar. I use white distilled vinegar for pickling and sometimes add a drizzle of balsamic or red wine vinegar to a salad dressing. Some time ago I started using apple vinegar too. It’s surprisingly tasty and making it at home is pretty easy. The full recipe can be found on the blog.
I’ll prepare my vinegar in two ways. The more elaborated one will be made from freshly squeezed apple juice. I’ll use cider yeast to take care of the alcoholic fermentation.
The other vinegar will use the same yeast, but I’ll use store bought apple juice. The higher the substrate quality, the better the result, so my juice is not from concentrate and contains no added sugars.
I core the apples and use a juicer to squeeze the juice from them.
In order to inoculate the juice with yeast, I rehydrate it in some water. It has been boiled and cooled down to ambient temperature. I sprinkle the yeast in the water and stir.
While the yeast is rehydrating, I pour the store bought apple juice into its fermentation vessel. Both the vessel and the funnel have been sanitised. The freshly squeezed apple juice goes into a second fermentation vessel. Finally, I add yeast.
I close the vessels with sanitised rubber stoppers and attach airlocks to them. They slide out when they’re wet, but as soon as they dry out, they lock into place and create an airtight seal.
From a fermentationist’s perspective, vinegar is interesting in that it is produced via not one, but two fermentations. First, fermentable sugars are converted into ethanol by yeast. In the case of fruit or fruit juice, the substrate is mostly glucose. Yeast cells ingest it, creating two metabolites: ethanol and carbon dioxide. The resulting liquid is homemade dry cider with an alcohol content of 5-8%, depending on how much sugar there was in the juice.
The juice ferments for as long as it takes to convert all sugar into alcohol. In my case, it’s slightly over a week. When activity in the airlock ceases completely, I know the fermentation is done.
The liquid has become clearer and there’s sediment on the bottom of the vessels. I love the aroma. This is what good cider should smell like: clean, pleasant, sweet, very much reminiscent of fresh apples.
I prepare new fermentation vessels. Jars are suitable here due to a larger opening, allowing for oxygen access. I sanitise the jars. I do the same with a small sieve and a clean flat cotton nappy, which I’ll use to filter out as much sediment as possible.
It’s always a good idea to try the homemade products at every stage. My cider is bone dry, which is quite surprising, given the sweet aroma. But it’s really good.
Before I let my cider turn into vinegar, I inoculate it with acetic acid bacteria. I use store bought natural unpasteurised apple vinegar.
I cover the jars with cloth. Its purpose is to keep dust and insects out while letting oxygen in. The jars will sit undisturbed for a few weeks.
Once ethanol is available, the second fermentation can take place. Acetic acid bacteria ingest ethanol and in the presence of oxygen, metabolyse it into acetic acid and water.
Also worth noting is the fact that the same acetic acid bacteria will continue to feed on their own metabolites if ethanol is depleted. As long as oxygen is available, they will convert acetic acid into carbon dioxide and water. This is why vinegar must be transferred to a sealed container once it’s ready, cutting off oxygen supply and preventing it from losing its acidity.
From time to time, I measure the pH level of my vinegar. If it’s dropping, acetic acid is still being produced. When the pH change slows down considerably or halts, the vinegar is ready. If the bacteria start to metabolyse the acetic acid, the pH will again start to rise. Here are my last three measurements.
It’s time to bottle my vinegar. But first, a taste. I start with the one made from freshly squeezed juice. The smell is rich. The apple aroma is still there, mixed with a mild vinegary one. The taste is somewhat sour, but mellow, pleasant and complex. The other one is more straightforward, with a much stronger acidity and a bit less of a complex character. Still very good though.
I prepare flip top bottles. But first, I’ll fish out the mother. It’s a gelatinous membrane made of cellulose that the acetic acid bacteria create. It is normal and expected for the mother to appear. Since it’s chock full of bacteria, it can be used to inoculate another vinegar batch instead of the store bought vinegar I used.
I strain the vinegar. There’s still a good amount of sediment. In fact, there’s so much that my flat nappy filter gets clogged. Store bought juice tends to be filtered so any sediment there is inactive yeast cells and possibly some loose pieces of the mother.
So, there it is. Two bottles of homemade apple vinegar, natural, healthy and delicious.

