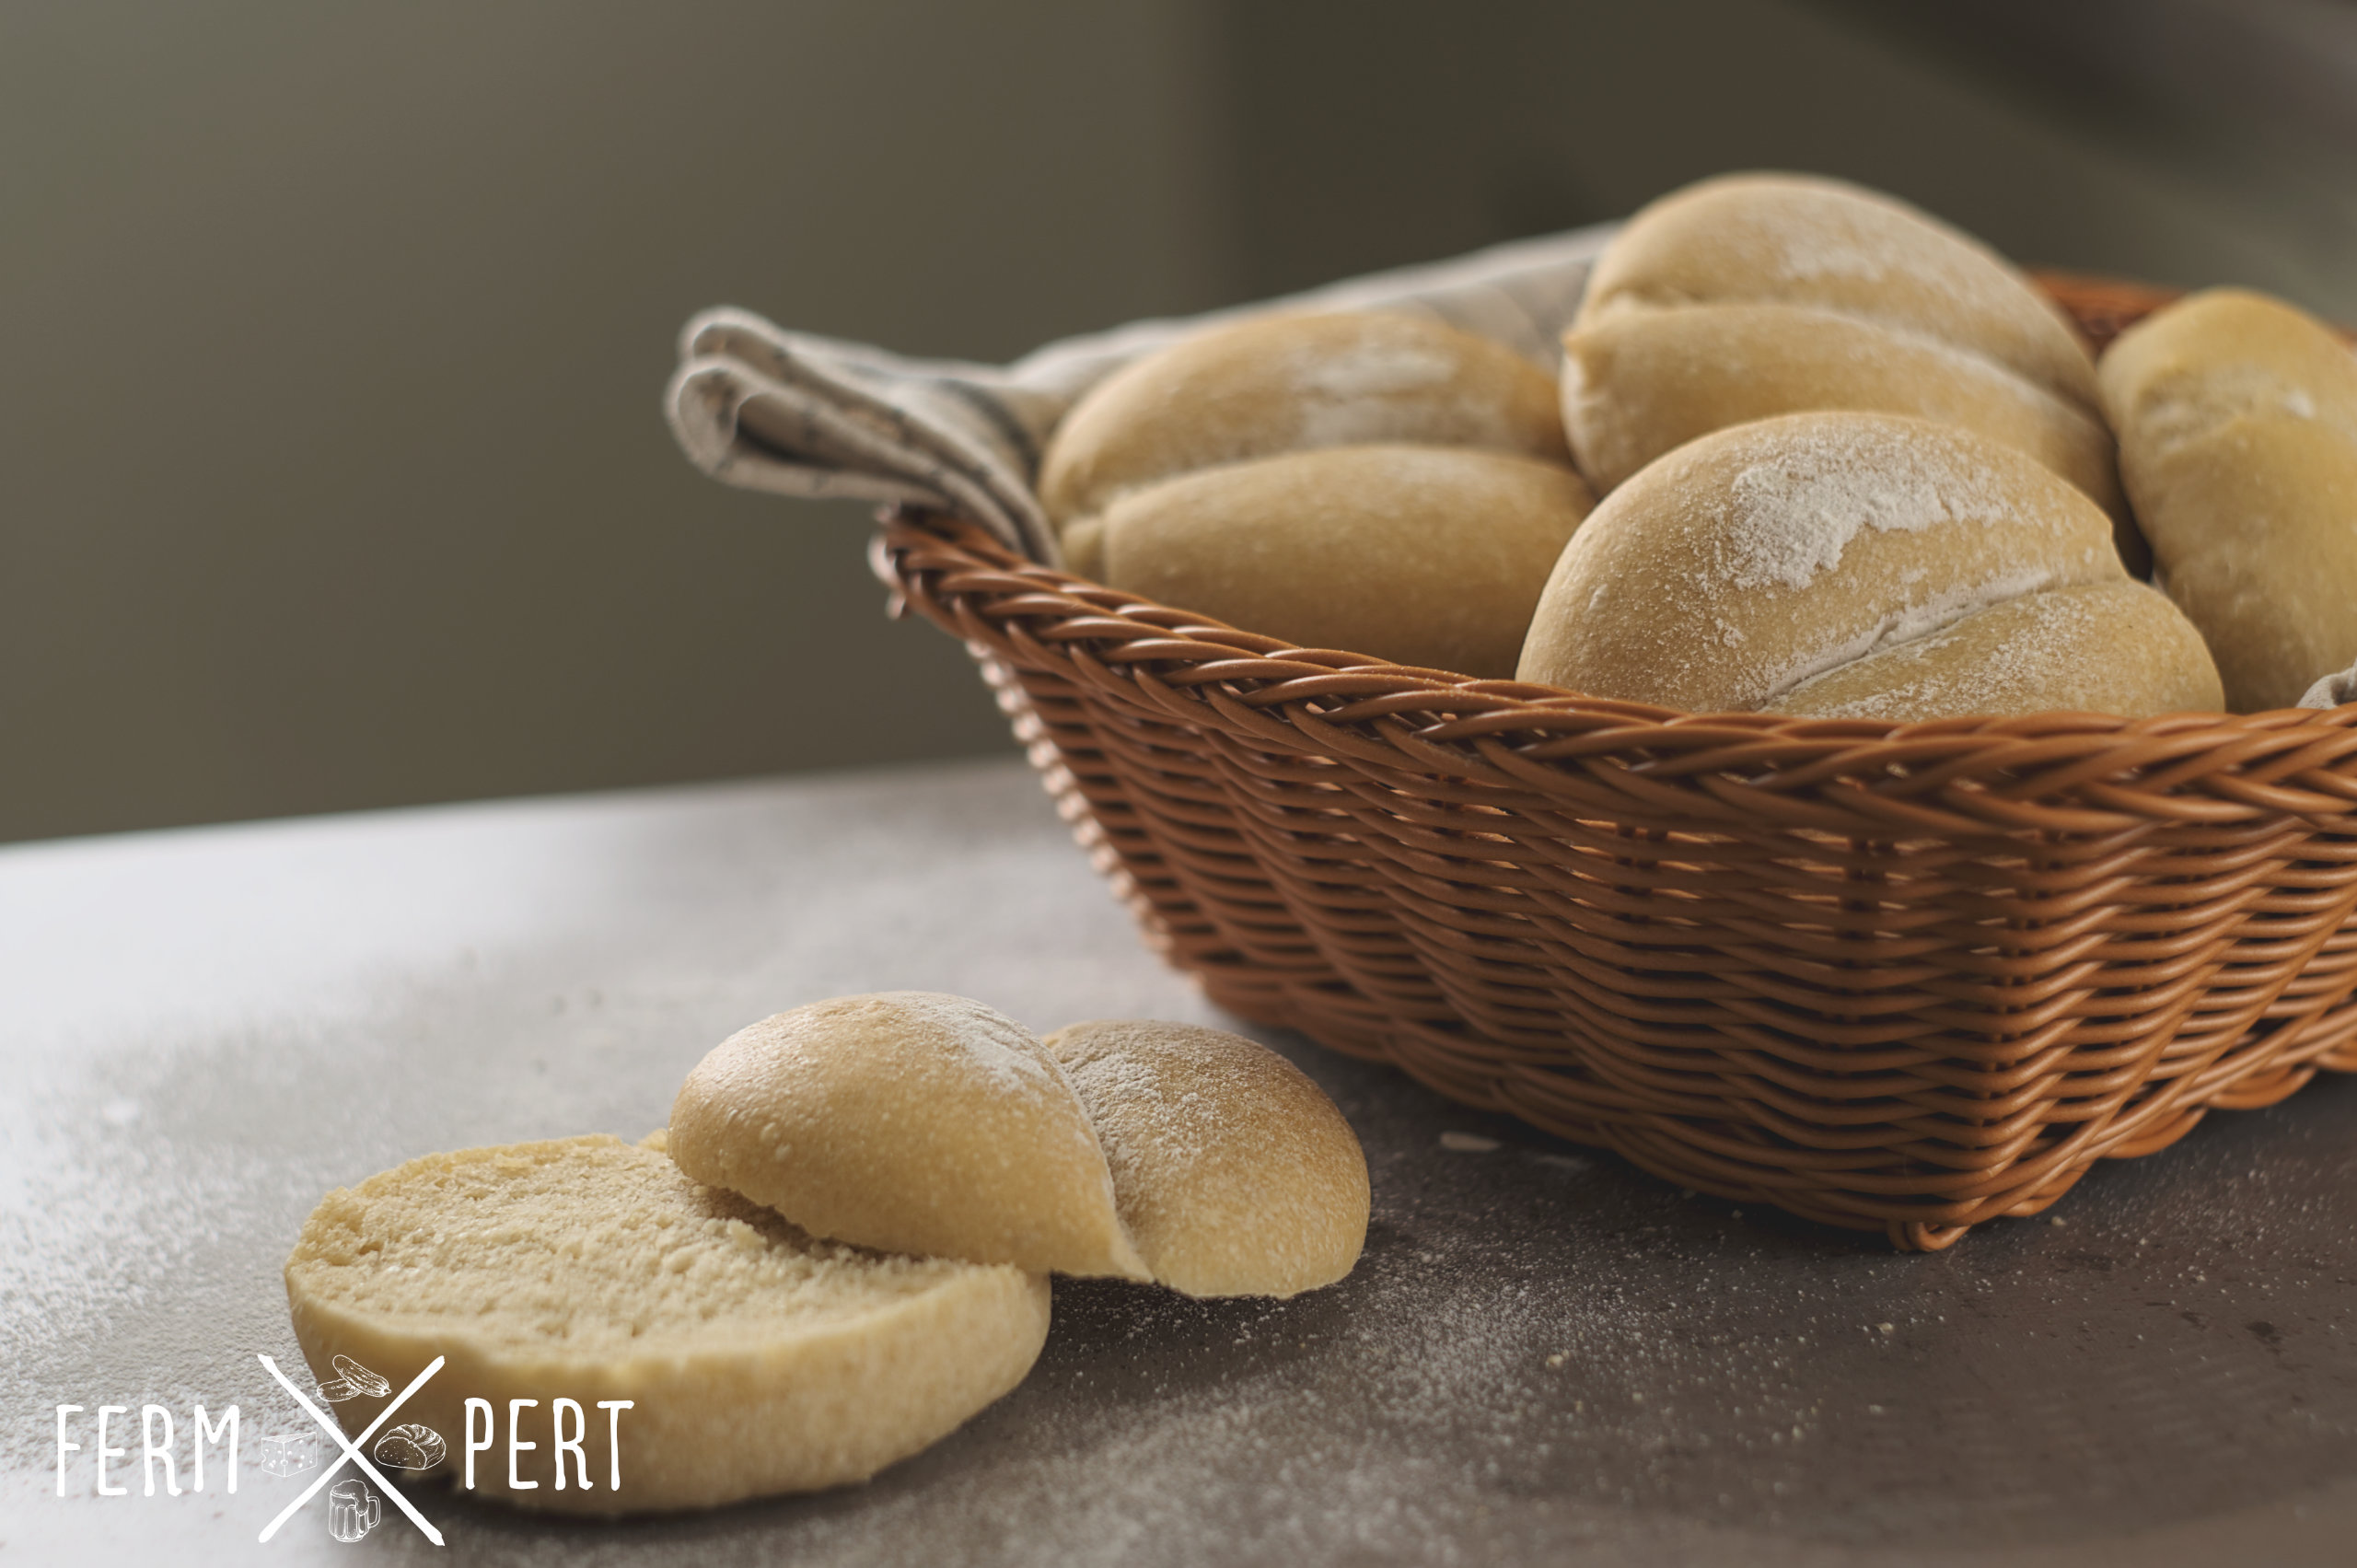
White wheat bread rolls of varying weight and shape occupy a good portion of the bread shelves in grocery stores. One of the available types are dimpled rolls, with a distinctive slit through the middle. While not the most elaborate of breads, I like baking them. Here’s my recipe.
Recipe
Makes 8 rolls.
- 500 g all purpose flour (bread flour is OK too)
- 300 g water
- 12 g salt
- 10 g fresh yeast (or 5 g dry yeast)
Mix the ingredients and knead the dough until gluten is well formed. Leave covered to prove until doubled in size.
Knock the dough back, weigh and divide into 8 equal portions, approximately 100-105 grams each. Form into smooth balls and lay on a baking sheet, leaving a good distance between the rolls so they don’t touch each other during the final prove. Prove until doubled in size again.
Before placing the rolls in the oven, using a chopstick or other narrow, round utensil, make slits through the middle of each roll, pressing the dough almost to the bottom, but without rupturing the gluten layer on the surface.
Bake at 200°C (400°F) until the rolls start to turn slightly golden (around 15 minutes).
Additional Information
My dough has a low hydration, only 60%, so it should not be sticky, but it is rather firm. Using a stand mixer or a bread making machine to knead it is an option.
Dimpled rolls don’t contain an addition of rye or wholemeal flour and they also don’t contain any seeds. The charm is in the unique shape, even though nutritionally they’re not the healthiest bread on the planet.
Video Transcription
Dimpled rolls aren’t that much different from any other white rolls, except for the aesthetic aspect. Still, they taste great and I like baking them. The full recipe with the ingredient amounts can be found on the blog.
What kind of rolls is your favourite? What would you like me to bake next? Let me know in the comments!
The ingredients are as simple as some flour, water, yeast and salt. I use all purpose flour for this recipe, though bread flour would have worked great as well. There’s no wholemeal flour, but I suppose 10-20% of it could be used to make the rolls a bit healthier.
I pour water into a mixing bowl. I add yeast and disperse it a little with my hand. I also add salt. Finally, flour goes in. I mix everything until the dough roughly comes together. Then I flip it onto the counter and knead until gluten is properly developed. This takes around 10 minutes. The dough is low hydration, which means it’s not particularly sticky, but requires some strength to knead it.
During the kneading, the proteins glutenin and gliadin, present naturally in wheat flour, bond to create long strands called gluten. When properly developed, gluten creates a mesh that traps air bubbles inside the dough and holds the rolls’ shape.
Once I’m done kneading, I perform the windowpane test. If the dough can be stretched until translucent before breaking, gluten is sufficiently well developed. I round the dough and place it back in the mixing bowl. It will prove covered until at least doubled in size. It usually takes between an hour and two. I left it for four.
After the first prove, the dough is ready to be divided into individual rolls. I first knock it back, which simply means I remove air from it. I then weigh it and proceed to divide it into eight equal pieces.
In order to shape a roll, I flatten a piece of dough. I fold the edges inwards. Finally, I cup the dough in the palm of my hand and roll it, pressing firmly against the counter. This results in an even ball with a tight gluten layer on the outside. I place the rolls on parchment paper lined trays, keeping a good distance between each roll. And here they are, ready for the final prove. I put them into the turned off oven and let them rise until they again double their size. While it usually takes 30-60 minutes, I again left them for much longer.
They’ve risen nicely, the only issue is that they’ve had enough time to slightly dry out. They’ll come out good regardless, but I’d rather avoid this in the future. I sprinkle some rice flour over the rolls. It doesn’t stick to the dried out surface of the dough. I then make long slits through the middle of each roll. I use a chopstick for this, but other tools are fine too. A wooden spoon handle, a pencil or even my pinky fingers. The trick is to press the dough nearly all the way down, but without cutting it. The gluten layer needs to stay intact for the roll to hold its shape.
I place the rolls in a preheated oven and bake until they just start to brown.
Once they’re out, they look like this. The aroma of yeasted bread is fantastic. The other tray was underneath the first one and surprisingly, the dimples almost completely disappeared. It’s better to bake the rolls one tray at a time. I let them cool down on a wire rack for a few minutes. Unlike bread loaves, rolls can be eaten while they’re still warm. Since they’re individual portions, cutting into a warm one won’t dry the remaining rolls out.
Let’s have a taste. The crumb is fairly tight. It smells amazing. The roll is relatively firm on the outside and soft on the inside, ideal for making delicious sandwiches. It tastes very nice.

