Using malt extracts is the simplest of methods of brewing beer at home. Previously, I showed how to brew beer using a hopped extract, also known as a brewkit. This time it’s all about the unhopped extracts.
Recipe
Ingredients:
- liquid malt extract (LME), 2 cans of 1.7 kg
- Magnat hop pellets (12% AA), 15 g
- Sybilla hop pellets (6% AA), 50 g
- 1 sachet of ale yeast
- 23,83 L water
- 100 g sugar
Necessary equipment:
- pot, 30 L minimum
- a paddle
- racking tube
- two 30 L fermenters with taps
- airlock and grommet
- no-rinse sanitiser
- bottling wand
- bottles, caps, a bottle capper
- optionally: immersion chiller, filter bag, aerometer
Transfer the LME to the pot and dissolve it in the water. Put on the stove and heat until the wort boils.
First hop addition (bittering hops): 15 g of Magnat hops right after the wort boils, 60 minutes before the end of the boil.
Second hop addition (flavouring hops): 20 g Sybilla hops 20 minutes before the end of the boil.
Third hop addition (aroma hops): 30 g Sybilla hops 7 minutes before the end of the boil.
Chill the wort below 30°C (86°F). Add yeast to a sanitised fermenter and rack the wort without hop debris, aerating it. Close the fermenter lid with the airlock on. Ferment for a week at room temperature.
Rack the beer to a sanitised fermenter, leaving yeast cake behind. Do not aerate. Close the fermenter and ferment for another 3 weeks at room temperature.
Bottle with 100 g sugar. Bottle condition for 2 weeks.
Additional Information
Malt extracts leave little control over the maltiness of the beer. It’s also difficult to produce a very pale beer. Finally, achieving a more or less attenuated beer (less body and more alcohol or vice versa) is only possible to a limited degree via the use of specific yeast strains.
The benefit of this brewing method is the freedom of choice when it comes to hop varieties and the hopping scheme. I opted to use Polish hop varieties: Magnat (Magnum hops, but cultivated in Poland) as bittering hops and Sybilla for flavour and aroma. By using ale yeast, I achieved what could be classified as a “Polish pale ale”. However, I could as well have used American hop varieties and come up with an American pale ale or even the Saaz hop variety along with lager yeast to produce a Czech amber lager.
The exact hop and sugar amounts have been calculated using beer recipe creation software. There are paid and free options available on the market, both as installable programmes and web apps.
Video Transcription
Brewing beer at home can be fairly easy, which I’ve already demonstrated in the brewkit beer video. This time I’m making a leap forward. I’ll brew a batch of beer using unhopped malt extract. It’s not as easy, but gives me freedom to choose any hopping scheme I like.
I only need a few ingredients. Yeast is what converts sugars into alcohol. I’ll use some hop pellets. Liquid malt extract will provide the sugars. I’ll also need water.
The most important piece of equipment is a large pot capable of holding the entirety of the unboiled wort. I open the cans of extract and transfer their contents to the pot. I scrape the sides of the cans. I then use hot water to rinse the remainder of the extract from the cans. I dissolve the extract in the hot water. Finally, I pour in the remainder of my water. Now the wort is ready to be boiled.
Once the wort boils, it’s time for the first hop addition. It will impart most of the beer’s bitterness. The time remaining until the end of the boil is 60 minutes. During the boil, I stir the wort from time to time.
It is now 20 minutes before the end of the boil. The muck on the wort is called hot break and it’s made of denatured proteins. I stir it in. The second hop addition takes place now. The hops added at this point will add some bitterness and a lot of herbal flavour.
I place the immersion cooler in the pot. Before I bought it, I’d chill the wort in a bathtub filled with cold water. I do this 10 minutes before the end of the boil because I want the wort to sterilise the equipment.
Last hop addition takes place 7 minutes before the end of the boil. This will mostly provide aroma, along with a negligible amount of bitterness.
The timing is important since the compounds present in the hops undergo changes when exposed to heat. Bitterness comes from alpha acids. Heat causes them to gradually isomerise, creating bitter iso-alpha acids. For maximum bitterness, the longer the boil, the better, though anything above 60 minutes will yield diminishing returns. Many flavouring compounds, such as the alcohols linalool and geraniol, undergo thermal degradation after 10-30 minutes. Boiling them for more than 20 minutes is usually considered wasteful. Some brewers even skip the flavouring hop addition. Essential oils, primarily myrcene, are insoluble and volatile hydrocarbons. They degrade and evaporate quickly, after just a few minutes. This is why aroma hop addition usually takes place near the end or after the boil.
It’s the end of the boil. I turn the stove off and run cold water through the cooler. I stir the wort so that it cools down more evenly. I need to cool the wort down below 80°C (176°F) as quickly as possible so that heat degradation of flavour compounds and isomerisation of alpha acids ceases. The end goal is to cool the wort down to as close to room temperature as possible.
Once the chilling is over, I remove the cooler and give the wort a vigorous stir. This is known as the whirlpool and the goal is to deposit hop debris near the centre of the pot. The wort is now a tasty snack for microbes. Over 10% of its mass are sugars. Fermentation must be performed by a selected variety of yeast – and nothing else. Infecting the wort is easy, so anything that comes in contact with it has to be sanitised from this point onward.
I prepared some equipment. The jug is filled with a no rinse sanitiser and contains a racking tube, a cotton filter bag, a grommet and an airlock. On the ground, there’s a sanitised fermenter.
Using the tube, I start to transfer the wort to the fermenter. I try to splash the wort as much as possible in order to aerate it. The yeast cells require oxygen to multiply. Halfway through, I sprinkle the yeast into the wort. Then, I continue with the racking. The last two litres or so of wort contain hop debris. Some brewers leave it in the pot, however, I prefer to strain it through a cotton filter. It’s much easier to do it when another person holds the filter bag.
Now I can close the lid and add the grommet and the airlock. Primary fermentation is about to begin. I start to see activity in the airlock after 8 to 24 hours.
The malt extract contains sugars: dextrins, which are not fermentable, as well as maltose. The yeast uses an enzyme, maltase, to first hydrolyse the maltose, converting it to glucose. Then, glucose is ingested by the yeast cells. The metabolites of this process are ethanol and carbon dioxide.
Primary fermentation is usually over after a week or so. I then rack the beer to a fresh fermenter. It has been sanitised. I take care not to aerate the beer. The yeast don’t need oxygen anymore. Alcoholic fermentation is an anaerobic process. Introducing oxygen at this stage would oxidise the beer, resulting in off flavours. I leave yeast sediment behind. There’s enough active yeast cells floating in the beer to take care of the secondary fermentation.
Secondary fermentation takes considerably longer. It’s hard to say exactly when it’s done: there’s always some residual sugar left. The idea is to leave only an amount that won’t cause overcarbonation. Also, yeast cells reduce some compounds that are considered off aromas: diacetyl and acetaldehyde. I usually bottle my beer after a total of four weeks of combined primary and secondary fermentation, though approaches vary among brewers.
After a month, it’s time to bottle my beer. I’ve already sterilised a bunch of bottles by placing them in the oven. 15 minutes at 180°C (356°F) is more than enough. In a mug, I’ve got a carefully measured amount of sugar. I sanitise the fermenter’s tap. Boiling water will sanitise the bottle caps. I also use it to dissolve the sugar.
Sugar syrup will carbonate the beer. It goes into the fermenter. Then, I rack the beer. Sugar should be distributed evenly by the time I start bottling. I’ll leave any yeast sediment behind.
I fill the bottles using a bottling wand. Then, I put on bottle caps using a capper. The beer will require a few days to carbonate. It’s ready after a week or two, depending on the temperature, yeast condition and a few other factors.
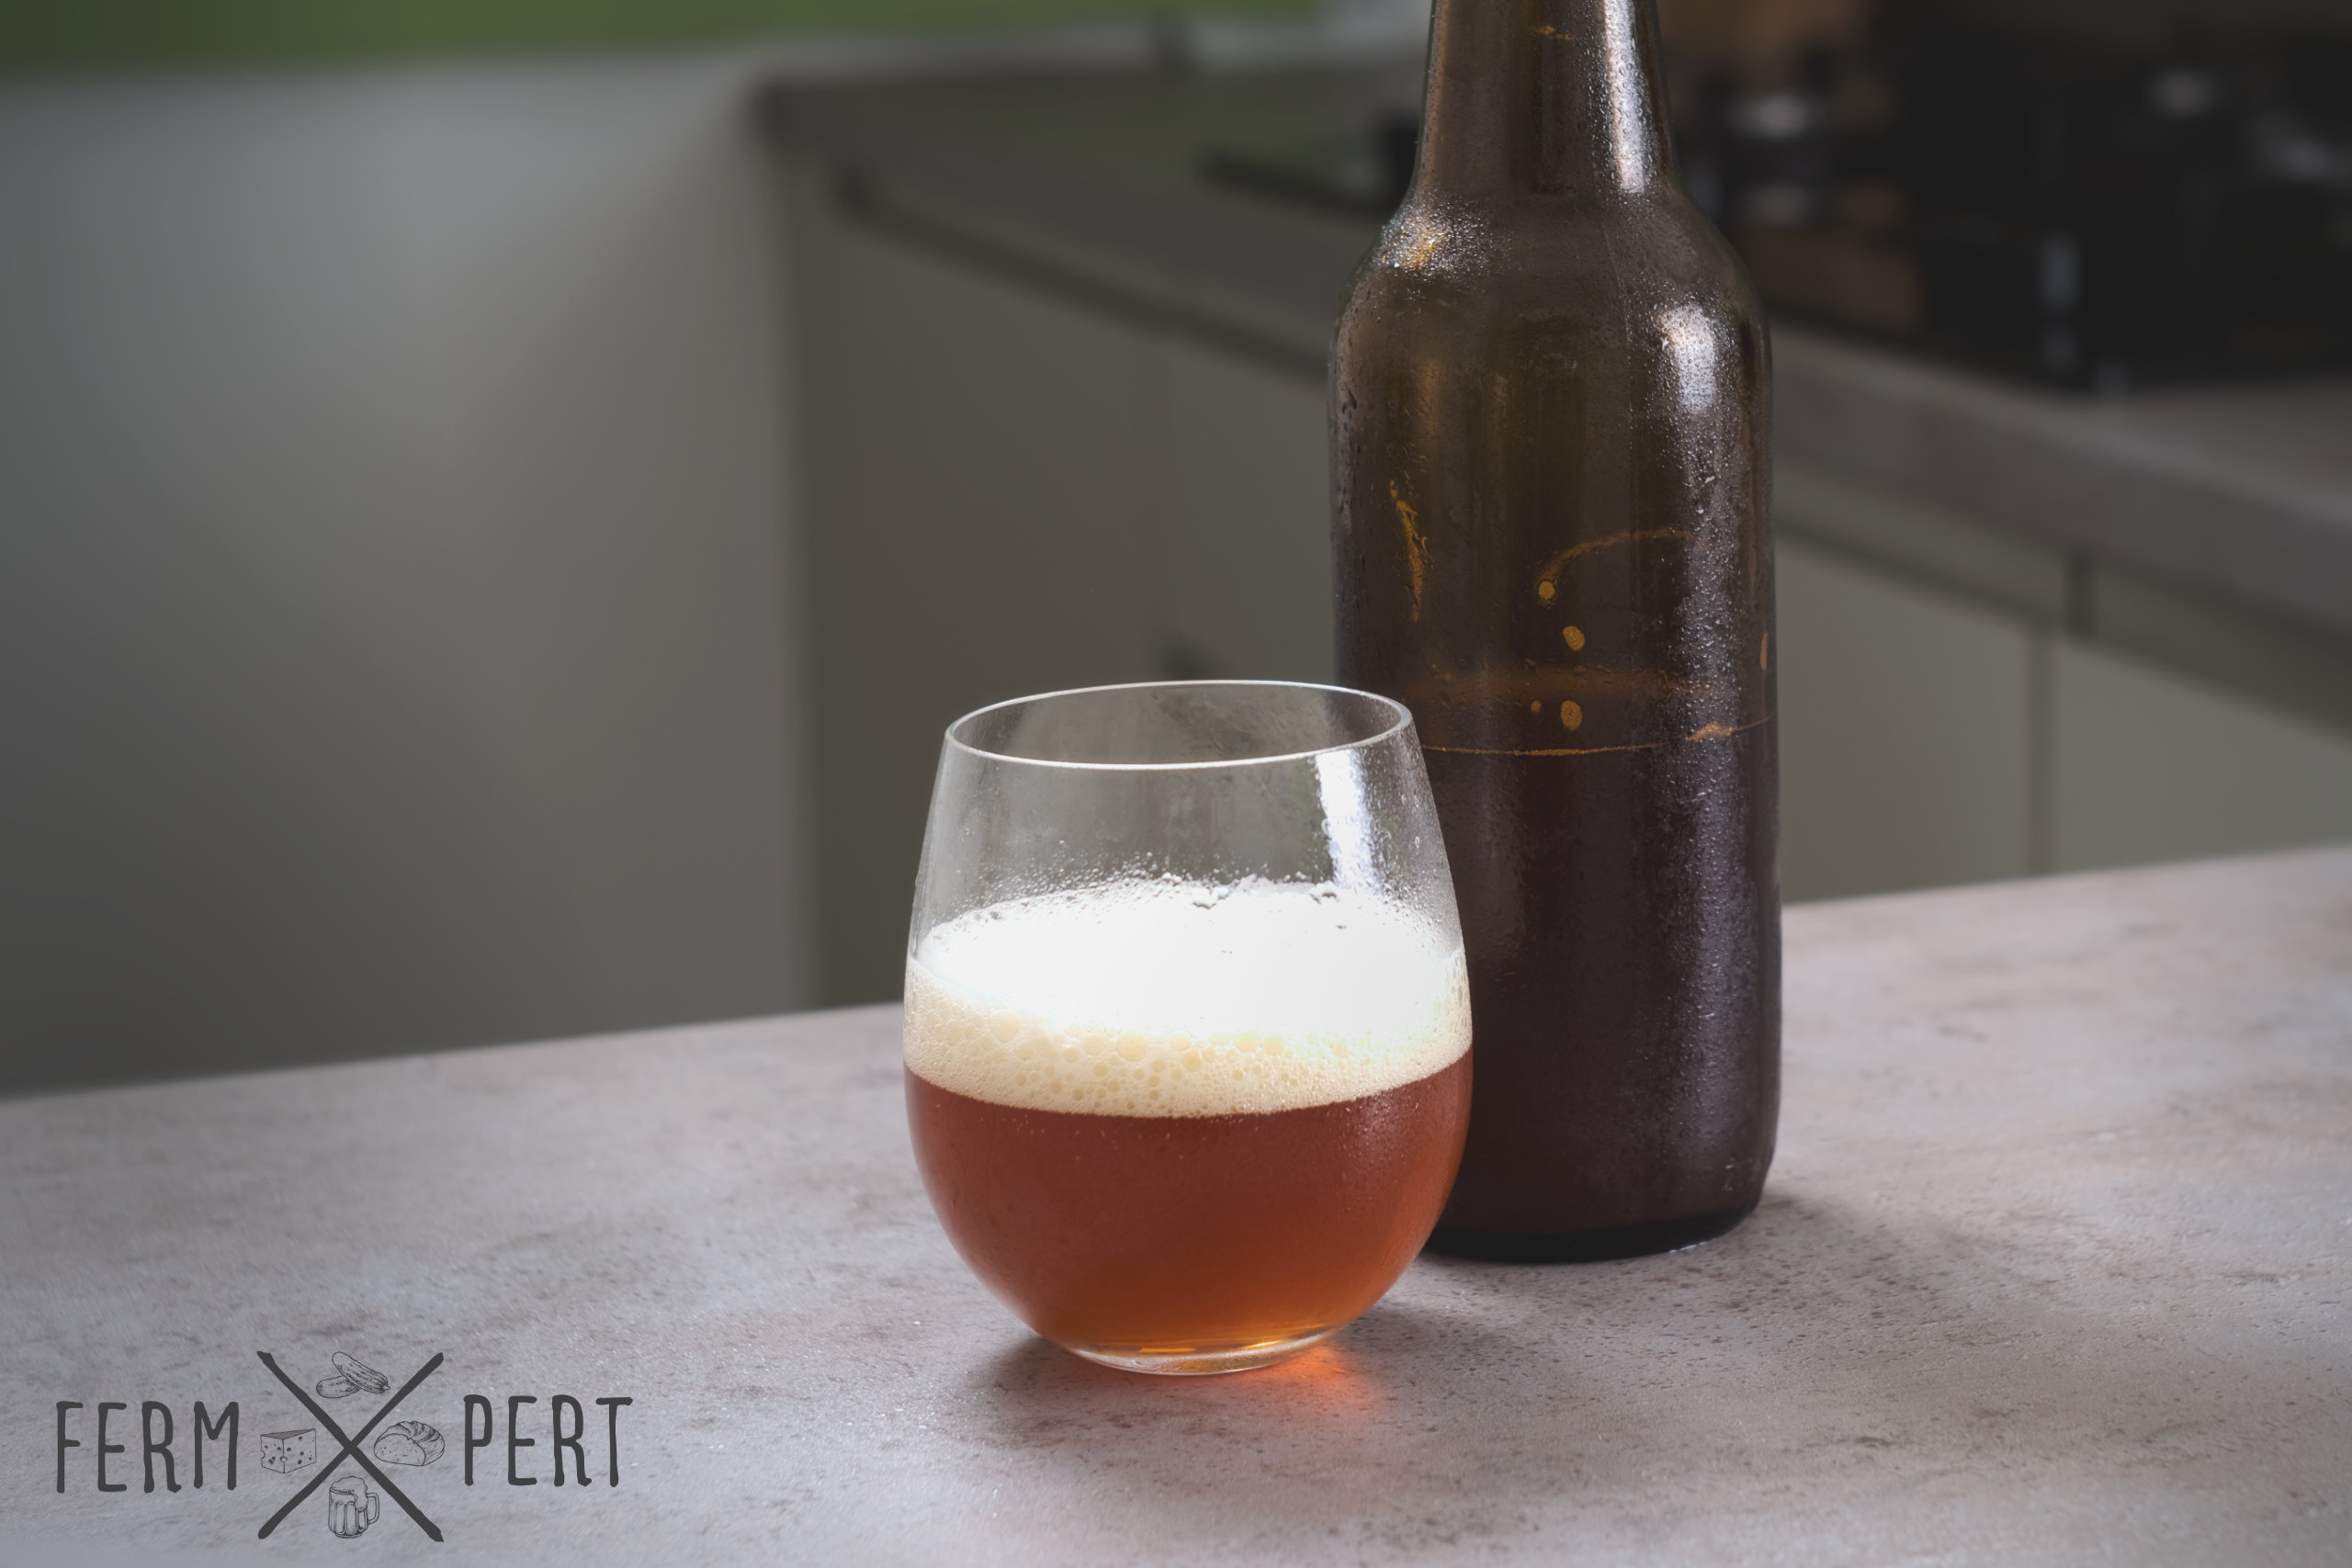
The beer’s definitely carbonated. Still hazy, but it’ll get a bit clearer as it ages. The aroma is fresh and hoppy: herbal, with a hint of resin and fruit. It’s refreshing. Not overly bitter, fairly light bodied, with a nice malty background and a hoppy taste. Nice!

