In the 80s, I could savour the taste of pickled peppers thanks to the jars that were imported to Poland from Bulgaria. Their contents left a lot to desire – the peppers used were thin walled, with as much skin as flesh. Alternatives were hard to come by though, so I ate whatever my parents were able to obtain. Luckily, today it’s easy to prepare pickled peppers at home and its texture and taste will be better than store bought – not just 40 years ago.
Recipe
The amounts given are enough for two 720 ml jars. The pickling solution’s acetic acid concentration is around 1.43%; in case of using a vinegar with a different acidity than 5%, I recommend calculating the water to vinegar ratio in the pickling solution calculator.
- 4 large bell peppers
- 500 g water
- 200 g vinegar at 5% acidity
- 4 bay leaves
- 6-10 black peppercorns
- mustard seeds
- 50 g sugar
- 15 g salt
Wash, core and seed the peppers. Cut them in the desired way. Scald it: toss into boiling water, wait for it to come to a boil again and count down 1-2 minutes. Transfer to a bowl.
Into a saucepan, pour water and vinegar, add sugar, salt and bay leaves. Bring to a boil, stirring until the sugar is dissolved. Simmer, covered, for 5 minutes to release the aroma from the bay leaves.
Into each jar toss a few peppercorns and three pinches of mustard seeds. Tuck the peppers in tightly. Top with the pickling solution so that all ingredients are covered.
Close the jars without tightening the lids too much. Pasteurise in boiling water for a short time – no longer than 5 minutes. Remove the jars from the boiling water, tighten the lids, put the jars upside down and wrap them with a towel or blanket. Leave to cool overnight. If the lids are airtight, they will be concave afterwards.
The peppers are technically ready to serve, but it’s a good idea to let them rest for at least a week so that the flavours mix properly.
Video Transcription
The taste of pickled peppers has accompanied me since my early childhood. In the 80s, jars of pickled peppers in Poland were imported from Bulgaria. Nowadays, many local brands offer them. Still, there’s nothing stopping me from making the peppers at home. The full recipe with ingredient amounts can be found on the blog.
Do you pickle peppers at home? Are your recipes different from mine? Let me know in the comments!
The peppers are the most important. I usually go for sweet bell peppers because of their thick flesh. Still, there’s nothing standing in the way of using other varieties, such as Ramiro. Sometimes I also add spicy peppers. Today I have some fun with colours and use red, yellow and green bell peppers. I’ve also prepared black peppercorns and mustard seeds. Black in this case since I’ve got a lot of them, but white is the most commonly used variety. The pickling liquid will also need vinegar, water, a few bay leaves, salt and sugar.
I start by cutting up the peppers. I half them and remove the cores. I then cut the prepared halves. I like to go for inch-thick pieces, but the size doesn’t matter. Anything will do, from quartering the peppers to thinly slicing them.
I put a pot half filled with water on the stove. I heat it up. As soon as it boils, I toss in the pepper pieces and wait for the water to boil again. Covering the pot speeds this up a bit. When the water boils, I count a minute, two at most, and transfer the peppers to a bowl using a slotted spoon. I don’t dispose of the water from the pot. I’ll need it in a moment.
I replace the pot with a saucepan, which I’ll use to prepare the pickling liquid. I pour water and vinegar into the pan. I also toss in bay leaves, salt and sugar. I heat the liquid up, covered. I frequently mix it until the sugar dissolves. Once the liquid is boiling, I lower the heat and maintain a gentle simmer for five minutes. This will make the bay leaves release a lot of aroma.
While the pickling liquid is simmering, I fill the jars. I first toss in a few peppercorns. Then a few pinches of mustard seeds. I tuck the peppers in rather tightly. They’re still hot, so a spoon is handy. Finally, I top the jars with hot pickling liquid. I pour in a lot since I want all the ingredients to be submerged. On the very top, I place fermentation weights. They’re not required, but they do keep the peppers completely submerged. I close the lids, but don’t tighten them with a lot of force.
I place the pot where the peppers were scalded back on the stove. I’ll use it to pasteurise the jars. I line the bottom with a tea towel and place the jars on it. The water in the pot is at a similar temperature as the jars’ contents, so the glass won’t crack. I top the pot with more water until its level almost reaches the jars’ lids. I then heat it up and as soon as it boils, I count 4-5 minutes. A longer pasteurisation is not recommended, lest the peppers become too soft. Once the 5 minutes are up, I remove the jars from the water and tighten the lids. I place the jars upside down on a folded large towel. This ensures the lids come into contact with the hot pickling liquid. I wrap the jars in the towel and leave them to cool down overnight.
The next morning, I unwrap the jars. They’re still warm. If any of the lids leak, it’s evident at this point. The towel should be dry and clean and the lids should be concave from the low pressure created by the cooled pickling liquid. Now, the peppers will go to the pantry for at least a week before they’re opened. During this time, the flavours should mix and mingle nicely.
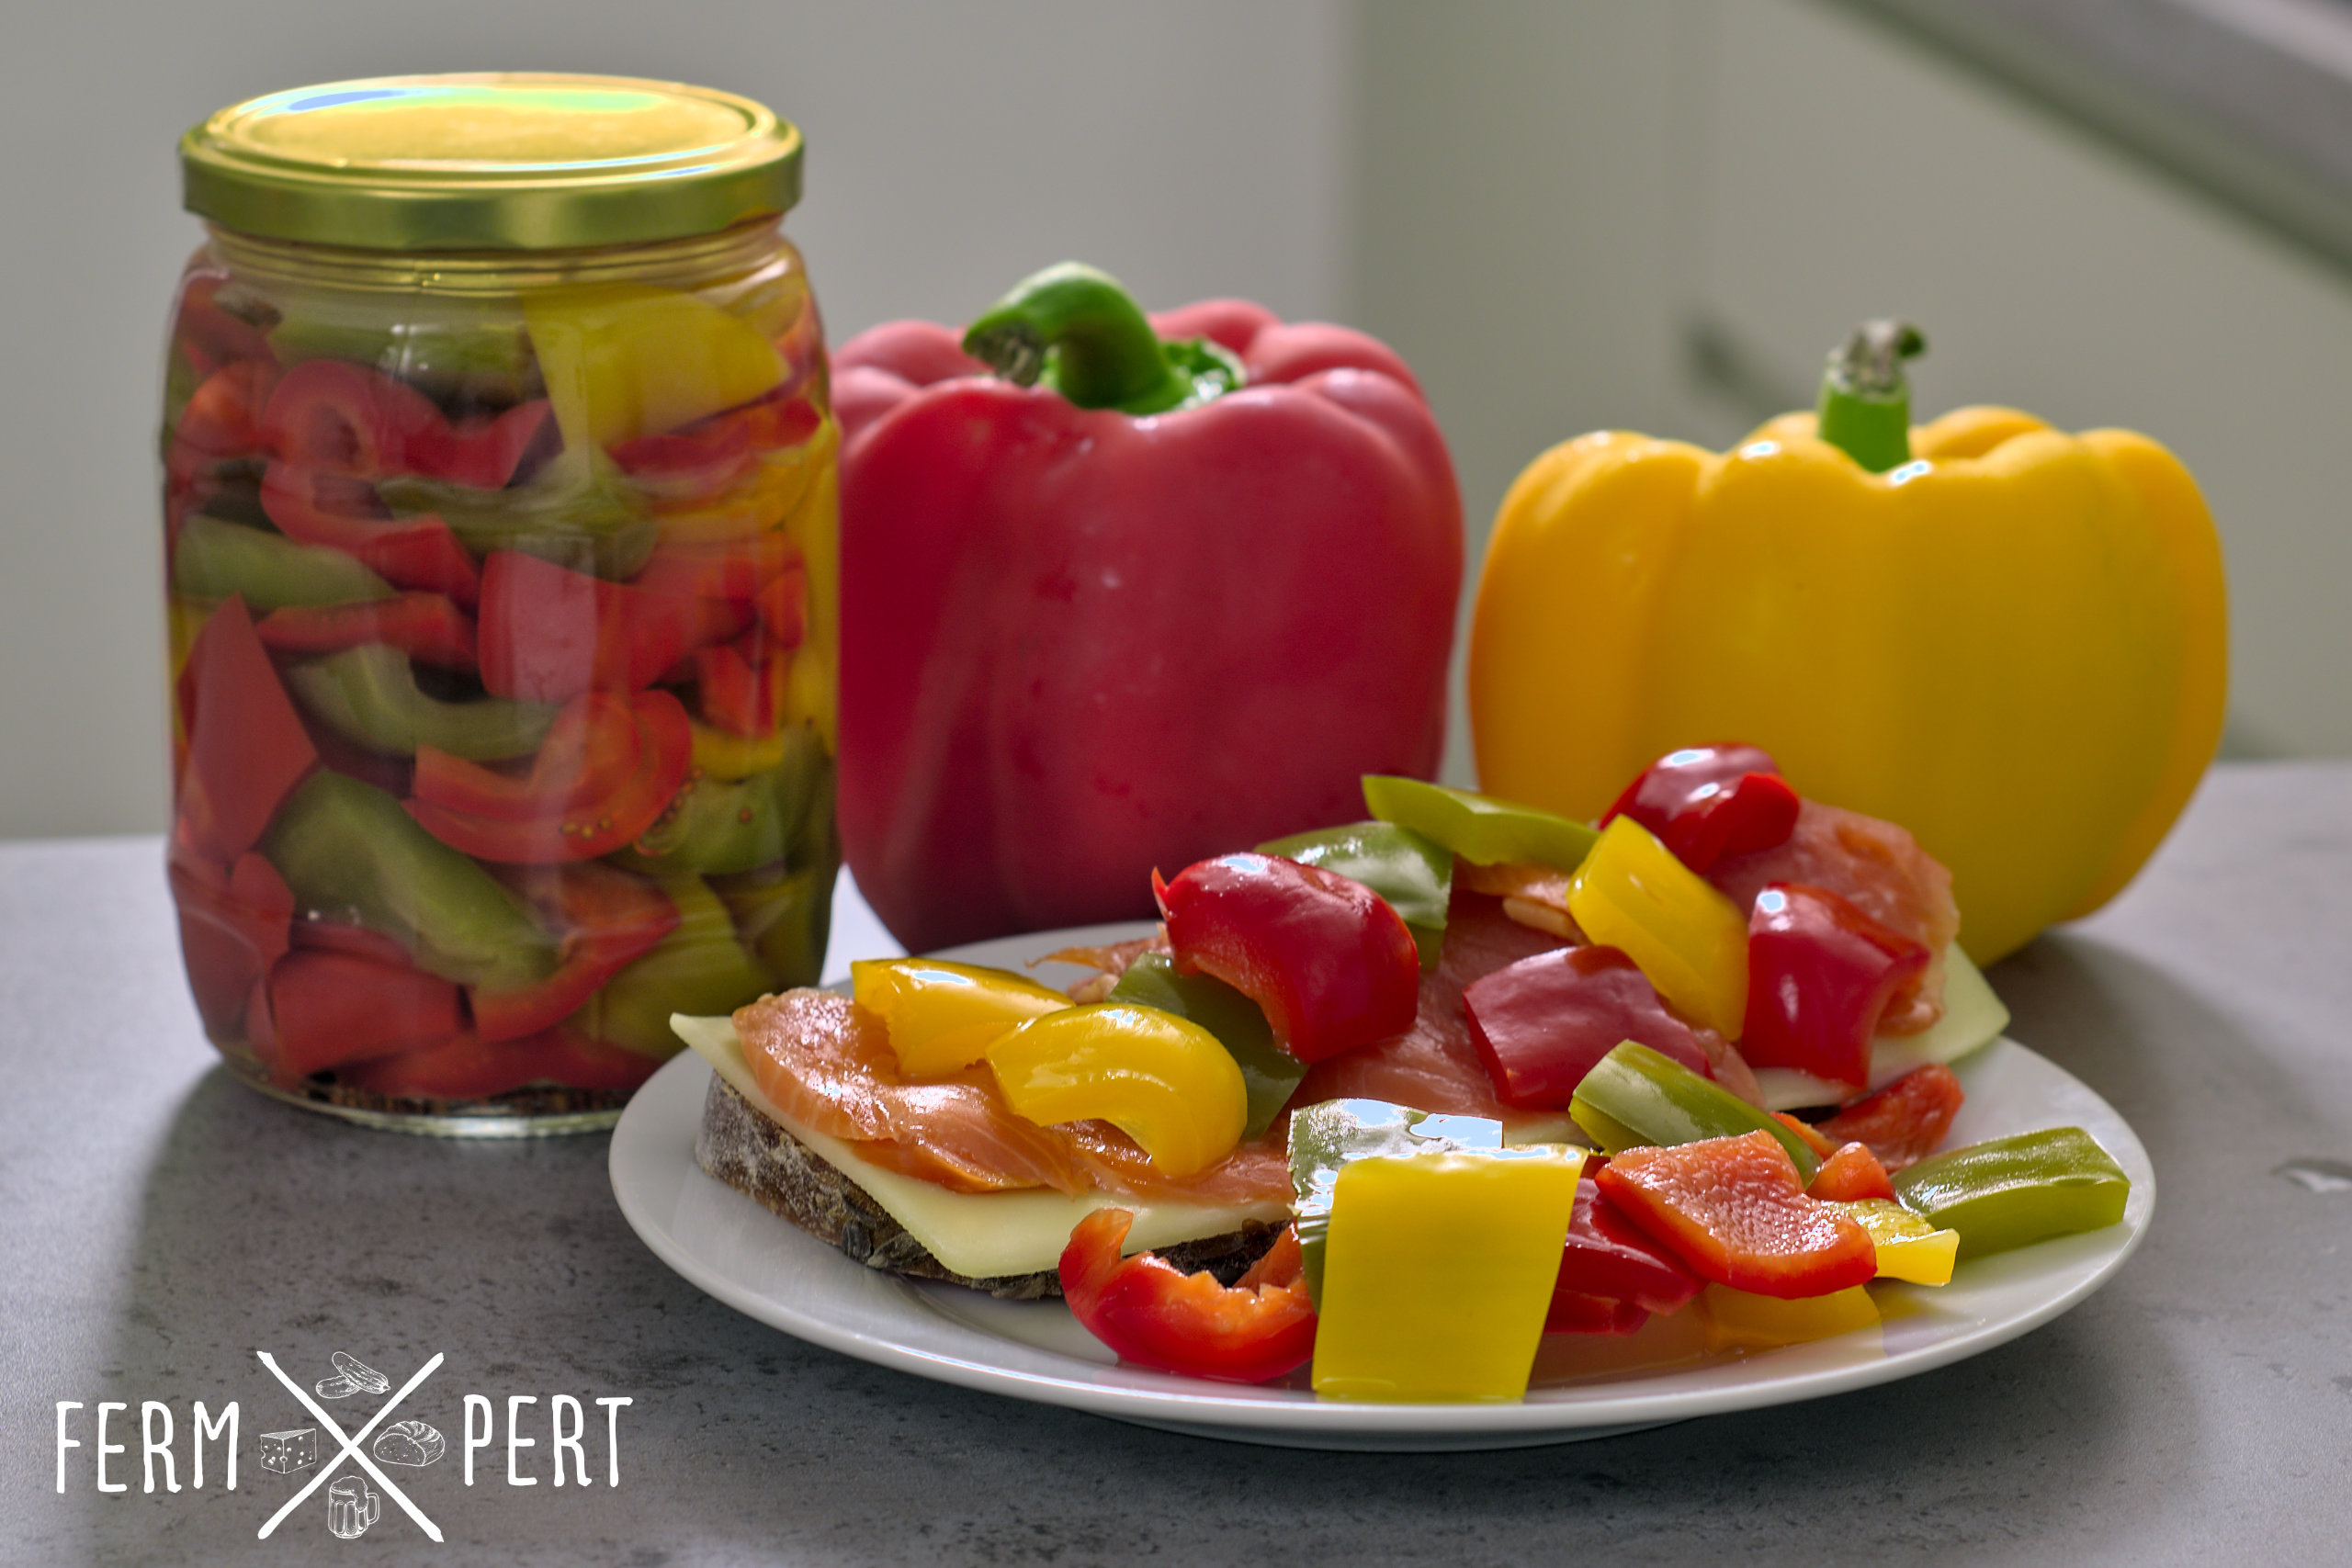
The red and yellow peppers retain their vibrant colours while the green peppers turn olive green. This happens under the influence of acid, which converts the chlorophyll present in the peppers into phaeophytin. This happens with all green vegetables.
After a week, I can finally open a jar. The pickling liquid has an intense aroma. The smell of vinegar mixes with bay leaves and peppers. It’s rich and pleasant. The taste is nicely balanced, sweet and sour. And the peppers are still crunchy!
Even though I like to have the pickled peppers on their own, as a snack, this time I’ve prepared a delicious sandwich. The peppers really elevate the sandwich to a completely different level!

