I have had quark regularly for as long as I can remember. Whether it was spread over a sandwich, stuffed in a pancake or used in a cheesecake, it accompanied me since early childhood. However, until recently, I was convinced it couldn’t be prepared easily at home. I was so wrong about that! It turns out that quark is one of the simplest fermented dairy products imaginable. Here’s how I prepare it.
Recipe
Ingredients for 250-400 g of quark, depending on how much whey is strained.
- 1 L raw or pasteurised milk
- in case of using pasteurised milk, a source of bacteria:
- 1 tbsp. unpasteurised sour cream or crème fraîche
- 1 tbsp. unpasteurised buttermilk
- freeze dried mesophilic bacteria cultures (dosage according to producer’s directions)
In case of using pasteurised milk, inoculate the milk by stirring in the bacteria source.
Cover the vessel containing the milk, keep in room temperature and wait until it is soured. It should take 24-48hours.
Transfer the soured milk to a cheesecloth (a clean tea towel or a flat nappy work fine) and hang it or place it in a colander in order to drain the whey. It should take 12-24 hours. Further removal of whey requires the use of a cheesemaker’s press or placing a heavy object on top of the quark in cheesecloth.
After the whey is strained, the quark is ready for consumption. It should keep for up to 5 days in the fridge.
Video transcription
Ever since I was a child, I had quark on a regular basis. My mother would turn it into lovely cheesecakes or delicious sandwich spreads. Until recently though, I never realised how easy it is to prepare home made quark.
Quark is an acid-set white cheese made from soured milk. Cow milk is naturally rich in mesophilic lactic acid bacteria. It quickly forms curds if not pasteurised. Sadly, I have no easy access to raw milk and have to rely on pasteurised milk and my own source of bacteria cultures. The full recipe can be found on the blog.
The first step is to inoculate the milk with the bacteria cultures. I use freeze dried cultures containing two subspecies of Lactococcus lactis: lactis and cremoris. They’re mesophilic bacteria, which means they thrive in ambient temperature. Alternatively, it’s also possible to use an unpasteurised dairy product containing these bacteria. Buttermilk and sour cream both work great. I use a tablespoon per litre of milk.
I pour the milk into a pot. Afterwards, I stir in the bacteria. Naturally, if I had raw milk, I would omit this step completely.
I put the pot on the kitchen counter. It’ll remain at room temperature until the milk is completely curdled under the influence of lactic acid produced from lactose by the bacteria.
After 24 hours the milk is curdled and looks like this. Depending on the ambient temperature, initial bacteria population size and their condition, this process can take more or less time. Since the lactic acid fermentation is far from over at this stage, it’s also possible to wait longer, for example two days, to obtain a more tart quark.
I proceed to strain the whey. I line a colander with a cheesecloth. Old fashioned cotton flat nappies work great, though I’ve also used clean tea towels.
I scoop out the soured milk and place it in the cheesecloth. Then I put the colander aside to let the whey drain into a bowl. This process will take at least another half a day.
After the whey is strained, the quark is pretty much ready, but I still want to squeeze the last drops out. Before I proceed with that, I pour the collected whey into a glass jar. Sour whey cannot be used to make ricotta cheese, but it still has some uses. It’s a refreshing tart drink. It can also serve as a starter culture for fizzy homemade lemonade or tasty fermented porridge.
I have prepared two small cutting boards. I will use them to shape the quark into a traditional flat wedge. I place the quark on the bottom board and close the cheesecloth to keep the contents in. Then I cover everything with the second board. I place the boards in the bowl I used before, and put a heavy object on top, a mortar in this case, to press the quark down and squeeze even more whey. I need some time to figure out how to correctly place the contraption. The boards should be at a slight angle so that the whey can trickle down. I suppose a tray would work much better than a bowl, but in the end, I manage to do it. I’ll give it another half a day on the counter.
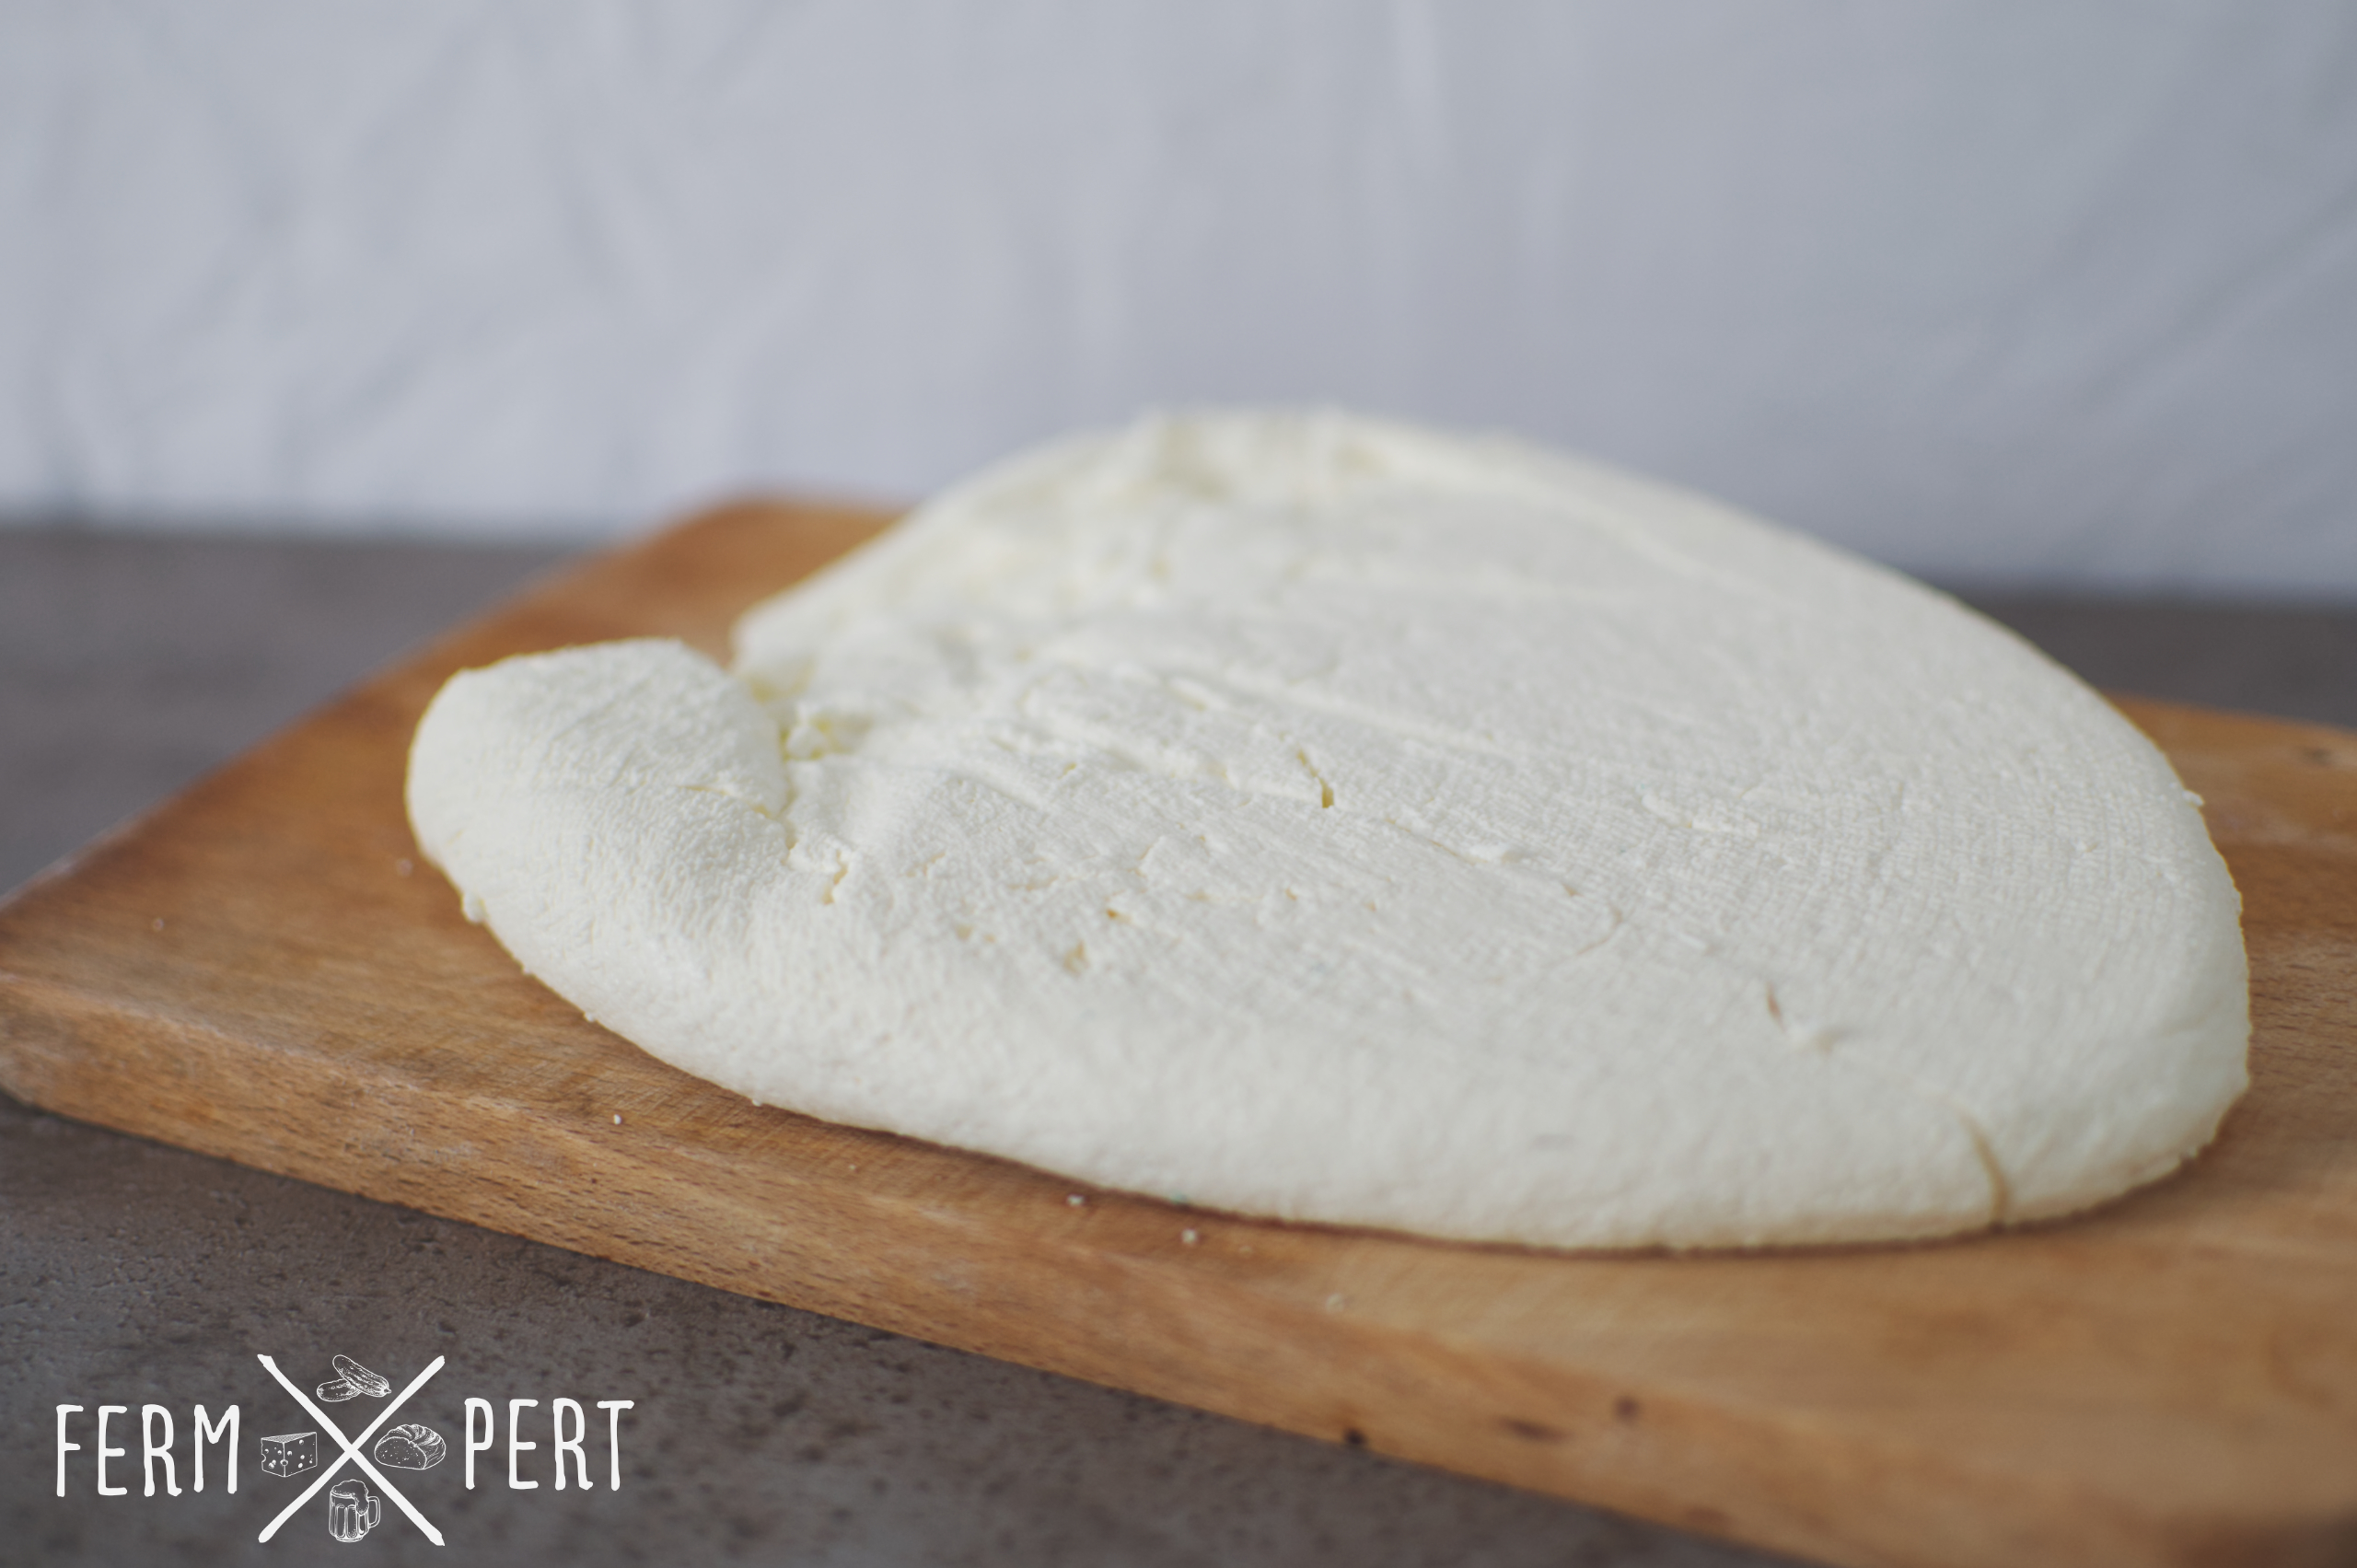
And finally, my quark is ready. I managed to squeeze quite a bit of additional whey out of it.
The efficiency of the process is below 25%, meaning, I get under 250 grams of quark from a litre of milk (that’s half a pound per quart). If I hadn’t squeezed the additional whey though, I’d get up to 40% efficiency and a more moist quark.
My quark is relatively firm with a smooth consistency and no perceivable grains. Tastes creamy, slightly sour. Delicious.

