Numerous sources claim that shaping bread dough before the final prove is of key importance. The role of dough shaping is to create tension in the gluten mesh so that it holds the loaf together, preventing it from spreading outwards and allowing it to rise vertically in the oven. I decided to test this by baking three loaves using the same dough.
Recipe
In the experiment, I used my standard white wheat sourdough bread recipe. In relation to the original recipe, I lowered the hydration from 70% to 65%, so the full ingredient list was the following:
- Starter:
- 40 g sourdough starter
- 80 g wholemeal rye flour
- 80 g water
- Ciasto:
- 960 g strong white wheat flour
- 140 g wholemeal rye flour
- 680 g water
- 30 g salt
- 30 g rapeseed oil
Experiment
The experiment conditions are the following:
Warunki eksperymentu są następujące:
- dough: 80% wheat bread flour, 20% wholemeal rye flour
- dough hydration: 65%
- final prove: 12 hours at 4°C (39°F)
- baking: 45 minutes at 230°C (446°F), with steam
I only manipulated one variable: dough shaping.
- preshaping and final shaping (control)
- final shaping only
- no shaping at all
I compared the loaves in terms of oven spring and holding their shape.
Hypothesis: the control loaf should rise vertically more than the other two.
Conclusion: indeed, proper shaping did cause the control loaf to rise more vertically. That being said, the differences between all three loaves were minute. This means that in the chosen conditions, shaping’s role is comparatively insignificant.
To draw more detailed conclusions, I would have to test the influence of shaping in different conditions, specifically, with a final prove at room temperature and with a higher dough hydration.
Video Transcription
Proper shaping can make or break a loaf of bread. Stretching and forming the gluten mesh gives support to the loaf. When it’s done properly, the dough will spring upwards instead of just spreading to the sides. Or so I’ve always been told. But is it really so? I’d like to find that out.
For the purpose of running this experiment, I decided to take the dough for my standard white sourdough bread. 80% white wheat, 20% wholemeal rye, 100% taste. I’m going to bake free standing loaves this time, so I needed to modify the hydration to make sure my flour can handle it. I’ve lowered it to 65%. I’ve made no other alterations to the base recipe.
Here are the experiment conditions. I only change one variable. I’m fully aware that adjusting other variables, like the baking temperature or dough hydration, could potentially lead to different results. What other experiments would you like me to perform in the future? Let me know in the comments!
This is my dough at the stage when loaves can be formed. Before dividing it, I’ll prepare three loaf tins that will act as bannetons. I line them with tightly woven tea towels. I do not use actual bannetons as I mostly bake in tins.
I use a scale to divide the dough into three pieces of equal mass. One will be the control; I will shape it as usual. The second one will be shaped, but I’ll omit the preshaping. The final one will not be shaped at all.
Before putting any dough in the faux banneton, I dust the lining liberally with rice flour. Then I simply plop the piece of dough in. I don’t even turn it smooth side down.
Into a container it goes. This will prevent the dough from drying out during the final prove.
Now it’s time for the second loaf. I’ll only final shape it. Smooth side goes down. I slightly stretch it into a rough circle. I fold the sides to form a wedge. And I roll it up. I dust another banneton replacement and place the loaf in it, seam up.
The control loaf gets preshaped. I fold the edges inwards, flip it and form it into a tight ball. I leave it on the counter for 15 minutes to let the gluten relax. 15 minutes later, I final shape the loaf.
And here are all of the loaves. They will now go into the fridge to prove overnight.
And here’s what they look like after 12 hours of proving in the fridge. They’ve all risen nicely.
I first bake the unshaped bread. Straight out of the fridge, the cold dough holds its shape very well, even after scoring. But what will the oven spring be like on this one?
Out of the oven it comes and I’m surprised to say that the loaf hasn’t expanded to the sides nearly as much as I’d expected. Interesting. Well, time to bake the second loaf. This one has only received a final shape.
There really isn’t that much of a difference between the two loaves I’ve baked so far. Time to bake the control.
And here it is. Quite frankly, I can’t tell the difference between the three. I’ll let them cool down on the wire rack and cut into them later.
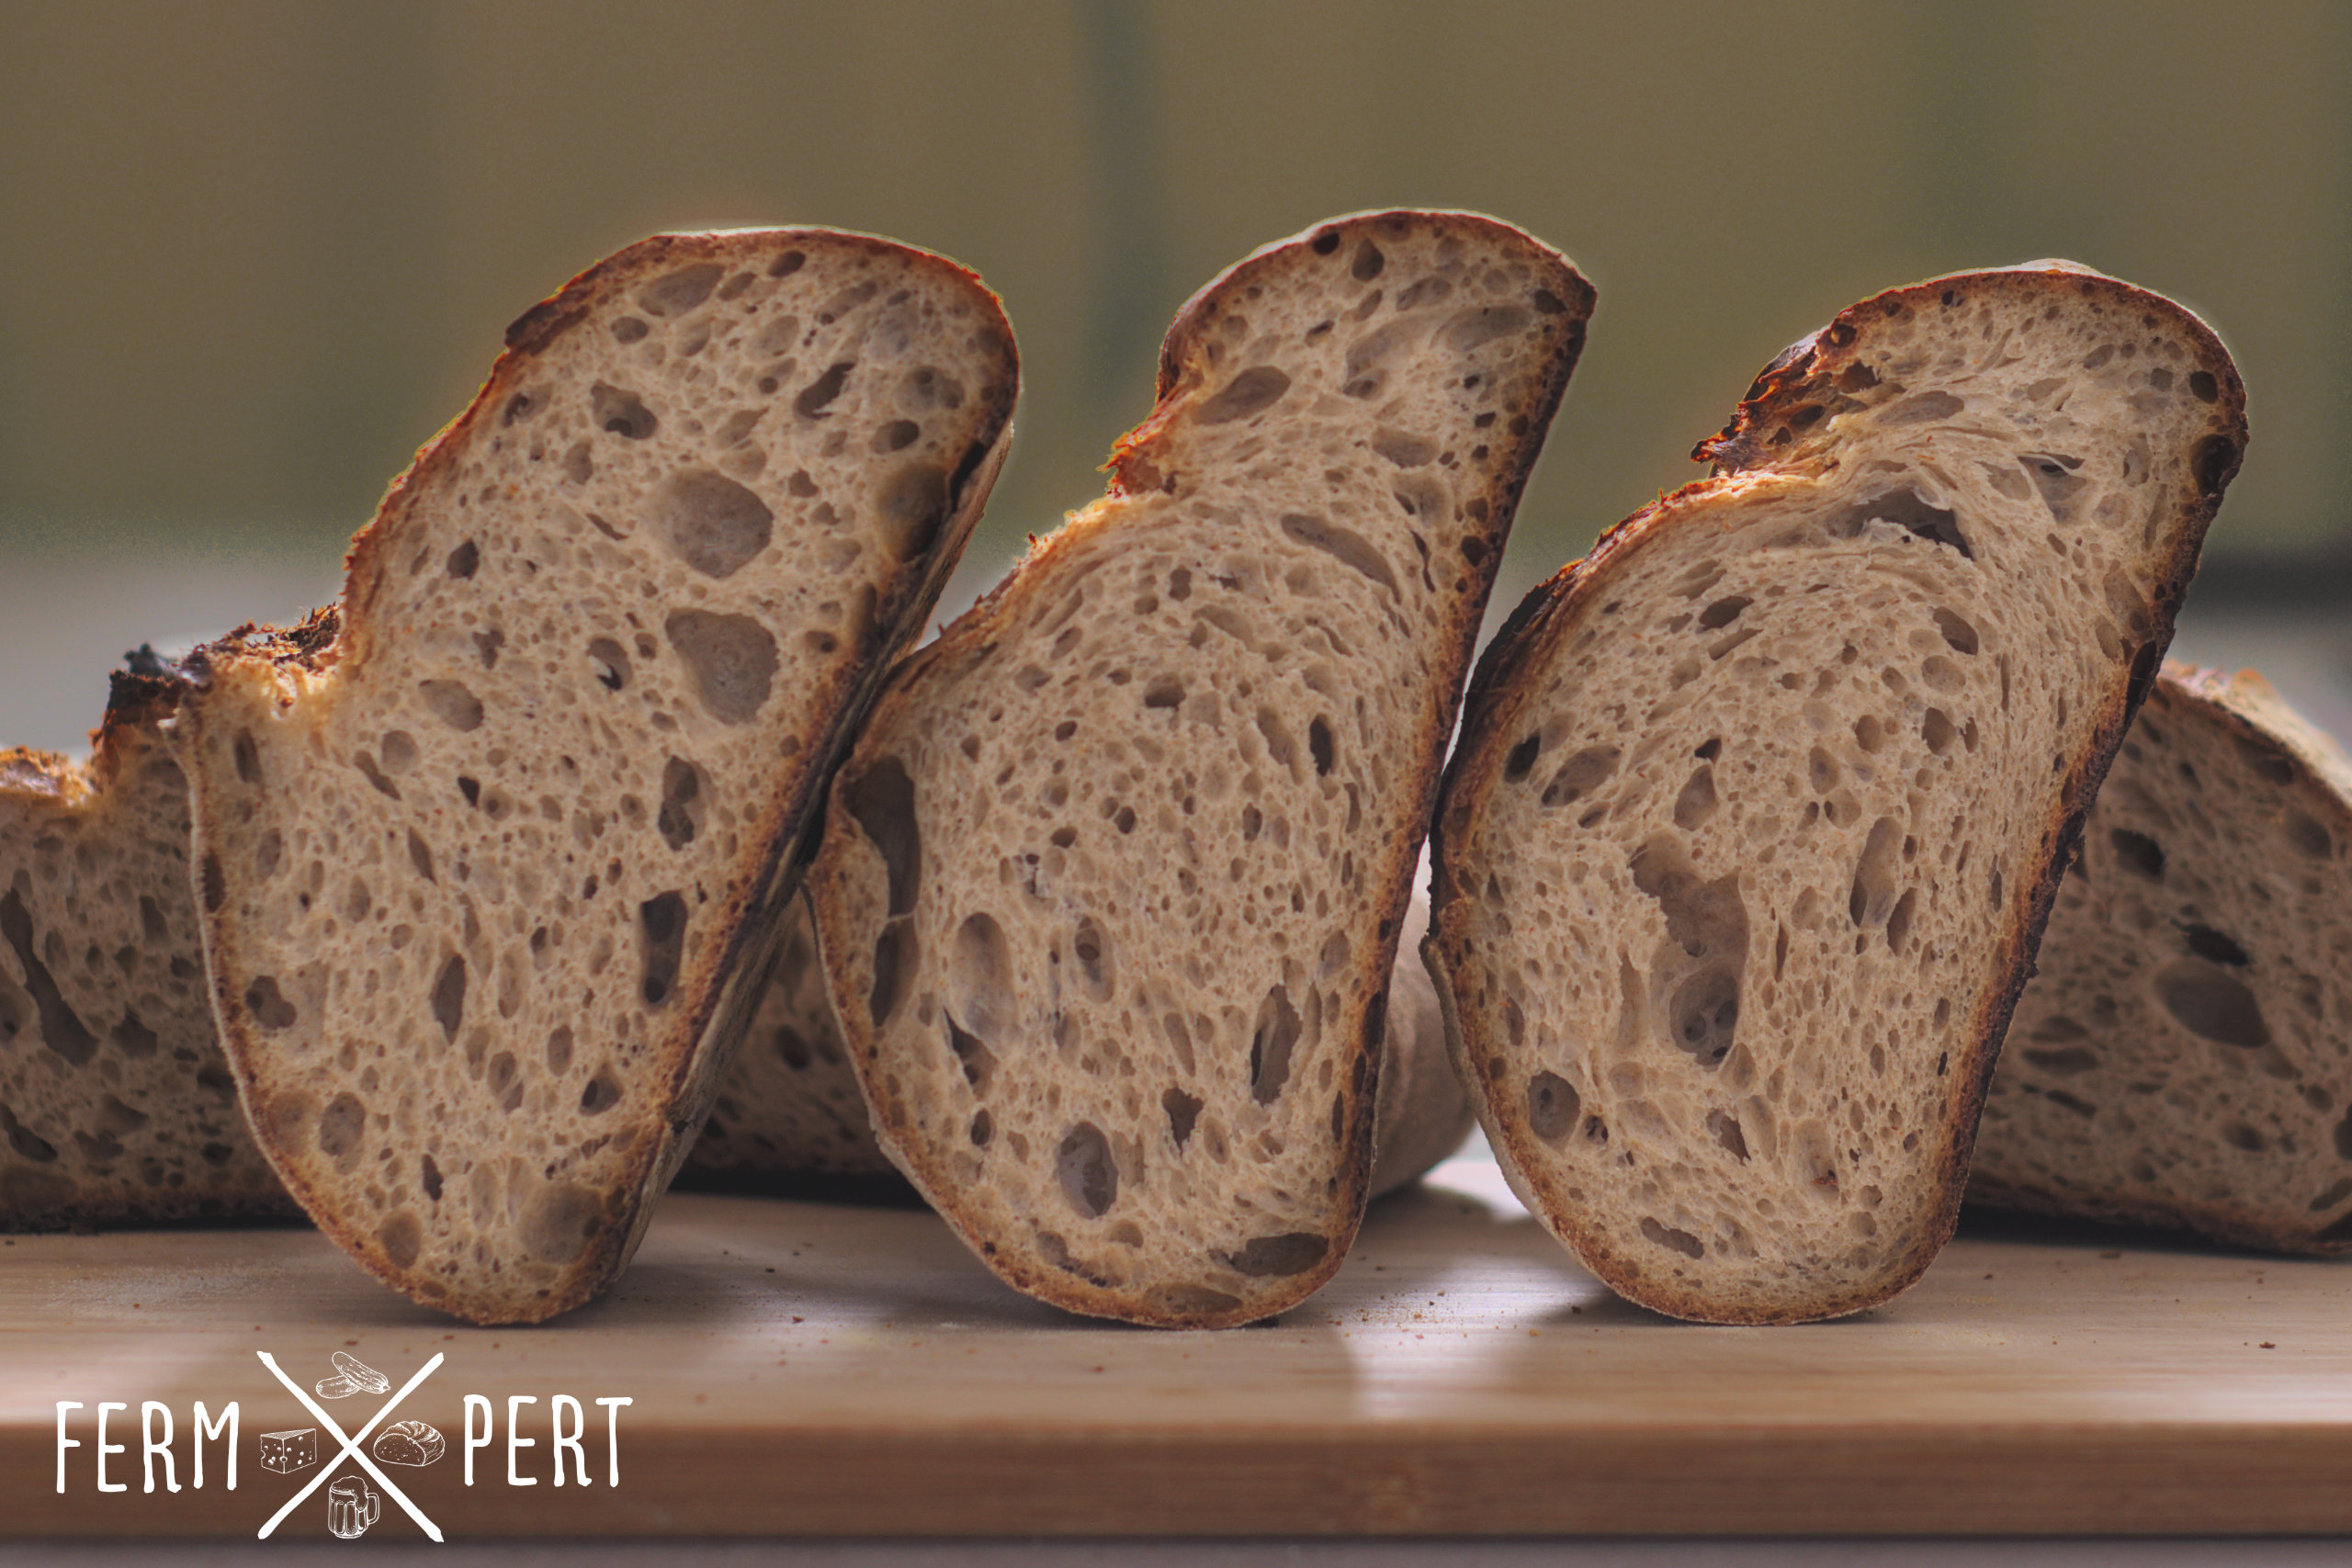
Here’s the cross section of the unshaped loaf. It’s decent.
The second loaf looks similar in terms of oven spring, though its symmetry leaves a bit to be desired.
And the control. This one looks spot on. Here’s a comparison of the three. I can tell that the control looks best, but overall, there really isn’t that much of a difference between the three. Curious.
The tasting isn’t really needed here as I know my base bread well, but I’ll taste it nontheless. It’s crusty, fragrant and very tasty, as usual.

