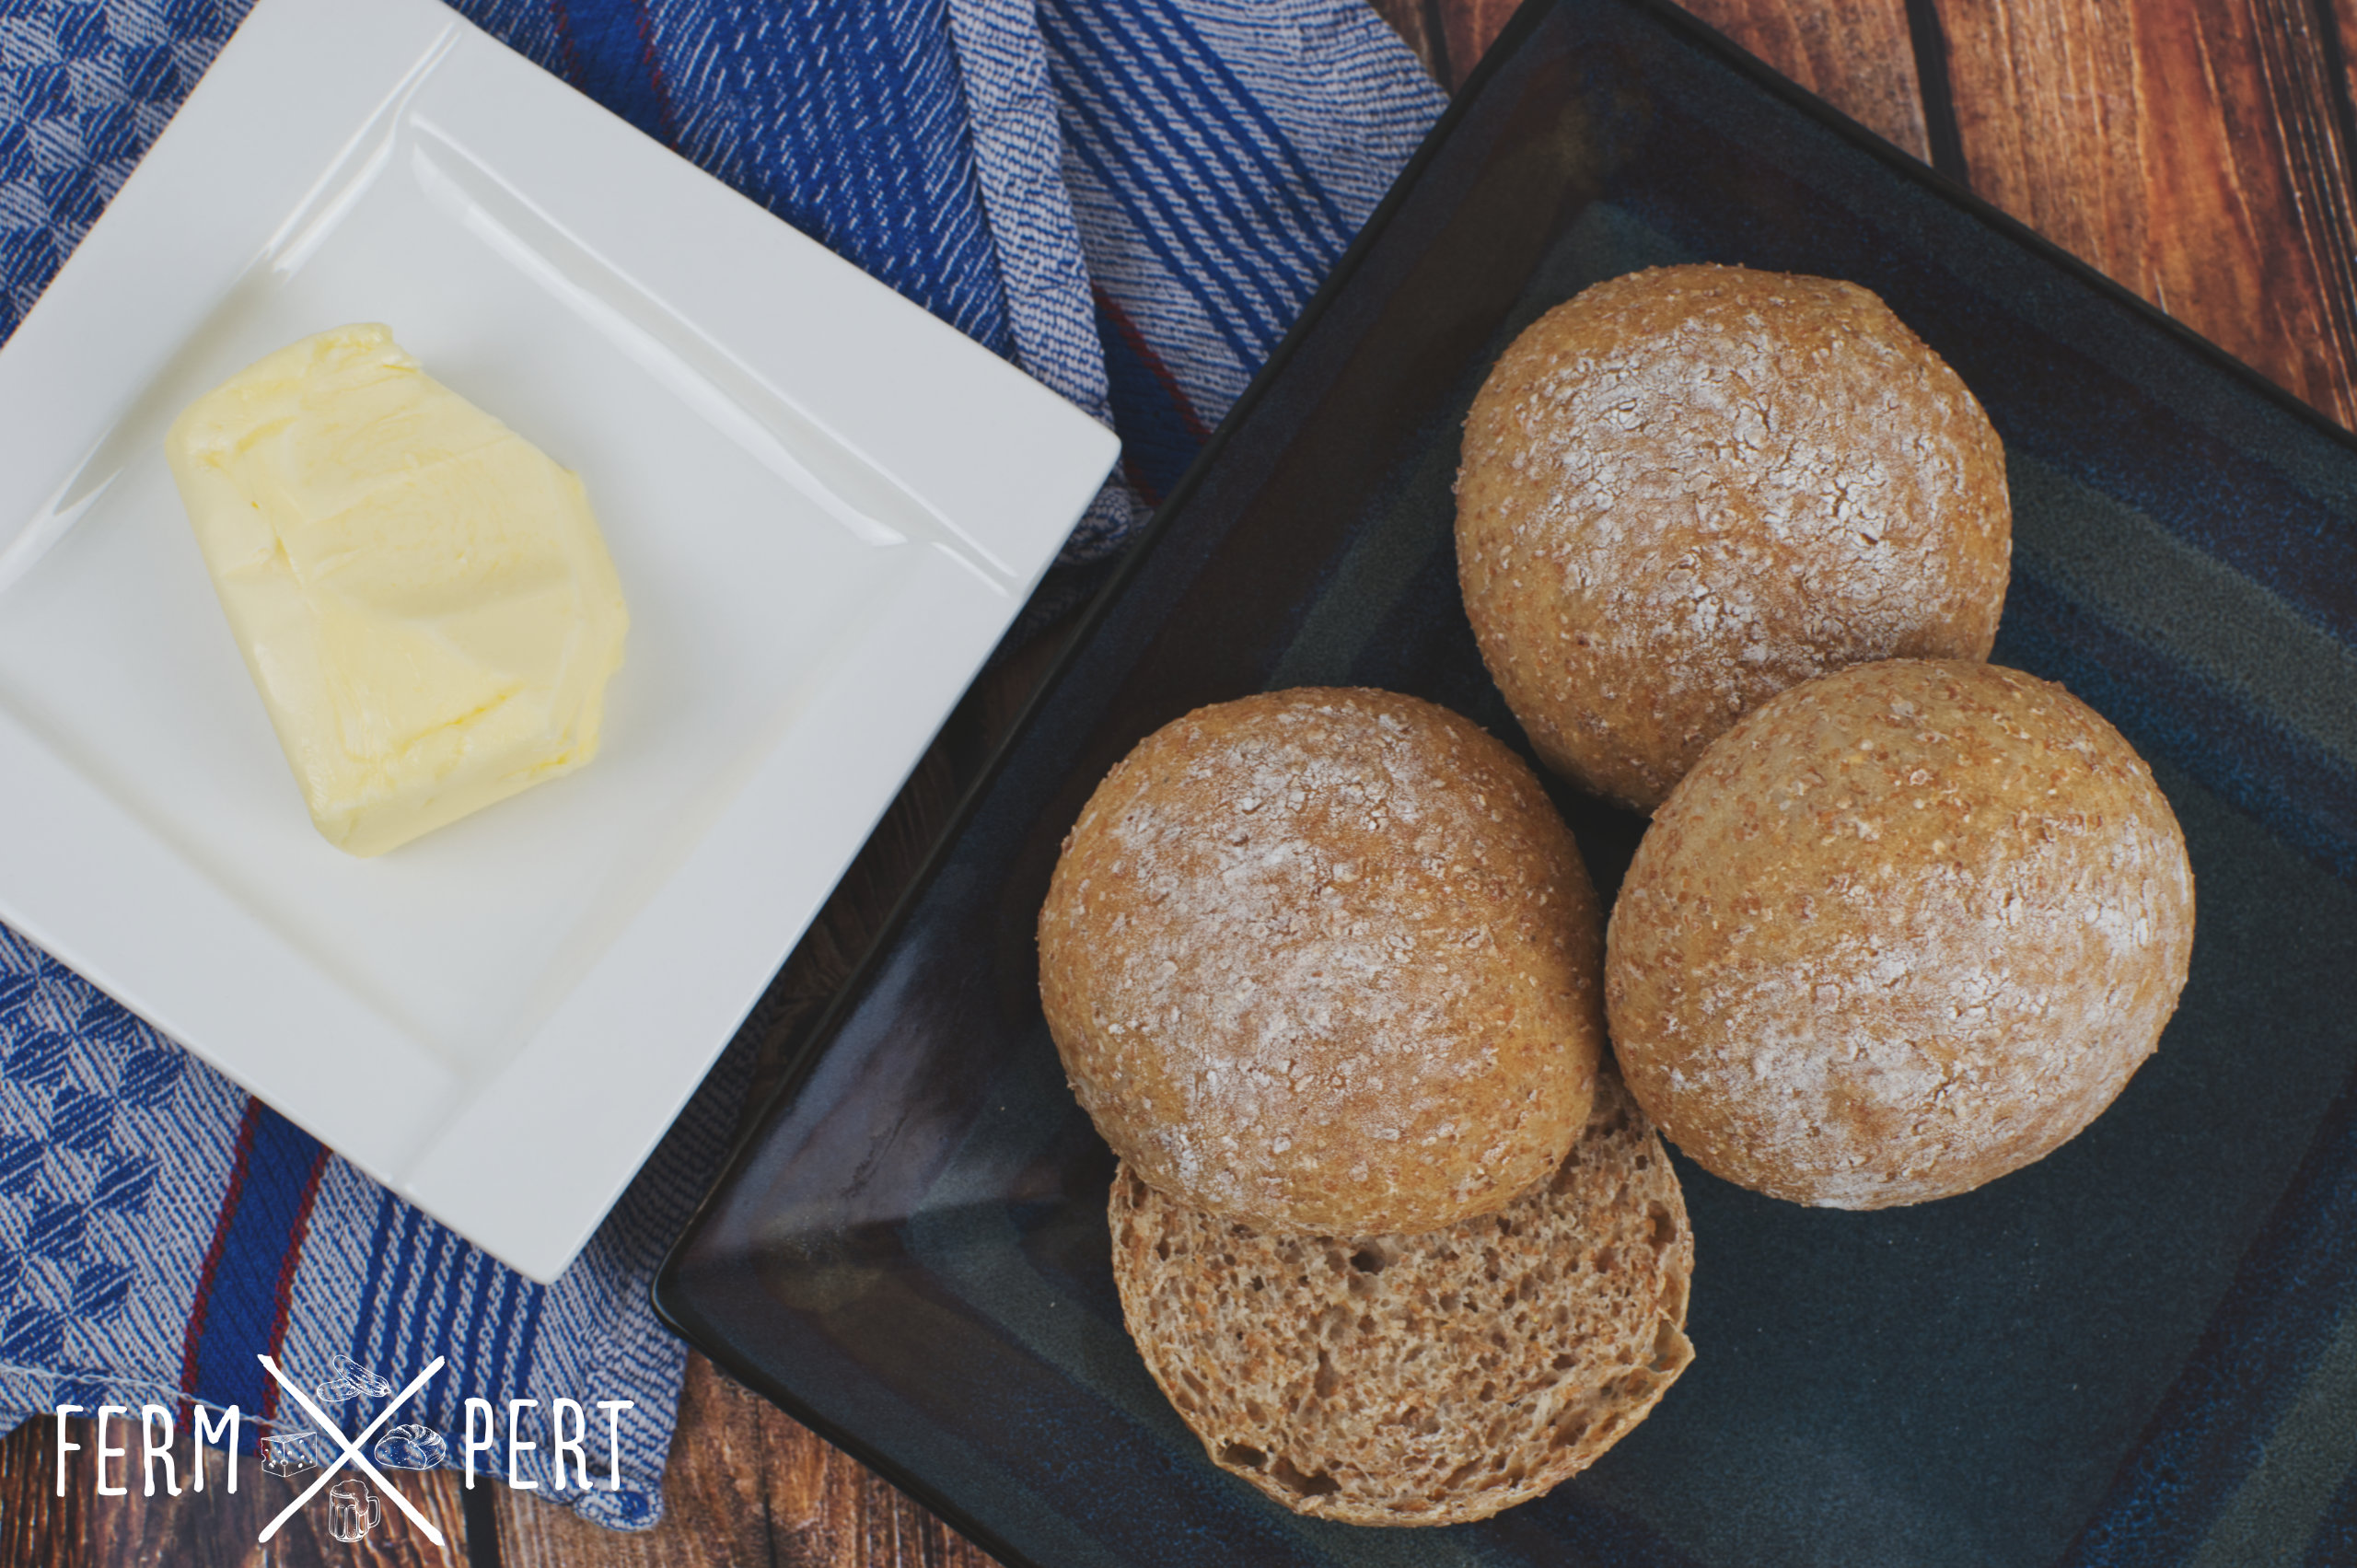
I bake a lot of bread, usually sourdough. Rolls are a bit of a rarity in my home but when I finally decide to bake a batch, they’re usually graham rolls. They’re tasty and the elevated wholemeal flour content brings in a good amount of dietary fibre. And the best part – they’re really easy to make.
Recipe
- 400 g graham wheat flour
- 200 g strong white wheat flour
- 360 g water
- 15 g fresh yeast or 7 g dry yeast
- 15 g salt
Dissolve the yeast in water. Add flour and mix. Flip the dough to the counter and knead for around 10 minutes, until a relatively strong gluten mesh is formed. Cover and leave to prove until it at least doubles in volume.
Knock the dough back and divide into 10 equally sized pieces (around 100 g each). Roll each piece into a tight ball. Place on a baking tray and final prove for 30-60 minutes. The balls should double in volume again.
Bake for 15-20 minutes in an oven preheated to 200°C (390°F), ideally with steam. After baking, let the rolls cool down on a wire rack.
Additional Information
Even though a large proportion of wholemeal flour usually hinders gluten formation, graham flour manages to minimise this effect. Plain wholemeal flour is produced by finely milling entire wheat berries. The bran pieces are tiny and they slice through the gluten mesh in so many places that the dough end up very difficult to shape. Graham flour on the other hand is produced differently. The endosperm is milled finely, but the bran and the germ are milled coarsely, so the bran pieces are large and therefore there’s fewer of them. This means the gluten isn’t damaged in as many points, leading to a more cohesive dough.
The above recipe has a 60% hydration, which means that the water’s mass is exactly 60% of the combined flour mass. This percentage is adjusted to the flour I happen to be using, but it’s worth noting that flour from another mill can absorb more or less water. In order not to end up with a dough that’s too loose, it’s OK to start with a 50% hydration (300 grams of water, as opposed to 360 from the recipe) and add the rest only after making sure the dough is too stiff.
The provided amount of yeast is 2.5% of the flour mass. This is ever so slightly more that in most yeasted bread recipes, where the usual yeast amount is 2%. This will ensure the dough proves at an acceptable rate, given the fact that this particular dough is comparatively stiff.
Video Transcription
My advice to beginner home bakers is usually to stick to using mostly strong white wheat flour, which facilitates the formation of a strong gluten network. Still, there is a kind of bread that despite a high content of wholemeal flour, is easily shaped and proves nicely. It’s graham bread. Today I will be making graham bread rolls. The full written recipe can be found on the blog.
I will need a lot of graham flour. I’ll use much less strong white wheat flour. Apart from these, I’ll also use water, salt and yeast. In my case it’s fresh yeast, but it can be swapped for dry, with the caveat that only half as much will be needed. Additionally, I’ll use a bit of rice flour, but it’s optional.
I pour water into a bowl. Next, I toss in the yeast, break it up and then stir so it dissolves a bit. I add all of the prepared flour. Finally, I add salt. I use a scraper to roughly mix the ingredients, but finish as soon as they come together and I don’t see dry flour anymore. I flip the dough onto the counter. I fill one of my empty bowls with water. I’ll be using it to wet my hands while kneading in case the dough is too sticky. I begin kneading. My goal is to form as strong a gluten network as possible. It won’t be as strong as with just white flour because pieces of bran tend to weaken the gluten considerably. After a minute of kneading, the dough isn’t cohesive yet. When I stretch it, it quickly starts tearing. I continue to knead. This takes around 10 minutes.
When the dough is fully kneaded, I’m able to easily form it into a tight ball. The windowpane test shows that the gluten is already formed nicely. Obviously, I won’t be able to stretch the dough super thin, but this gluten strength is more than sufficient, considering the fact that the dough’s hydration isn’t too high.
I put a few drops of oil on the dough. While it’s proving, I cover it with cling film and the oil will prevent it from sticking. This way the dough won’t dry out.
The fermentation takes approximately an hour and a half. The proving time varies depending on the amount and condition of the yeast, as well as dough temperature, so it’s better to use its volume as an indicator, not the time. My dough rose quite a bit, more than doubling in size.
I remove the cling film from the oiled dough surface. I knock the dough back, or degas it. I also fold it a couple of times in order to equalise the temperature in all parts of the dough.
I weigh the dough and divide the mass by 10 to get the mass of a single roll. Then I proceed to divide the dough.
I form each piece into a roll. I lay the piece flat and fold the edges inwards. This creates some surface tension. Next, I place the folded piece on the counter and roll it with my hand, rounding it and stretching the gluten surface even more. I place the formed rolls on a baking tray lined with parchment paper. I space the rolls out since I don’t want them to touch as they prove. I will need two trays.
Before the final prove, I dust the rolls with some rice flour. It will serve the same purpose as the oil did: it’ll prevent the cling film from sticking. The final prove usually takes less than the initial one. In my case, it was just shy of one hour.
The rolls have risen nicely, so it’s time to bake them. Before I do, however, I decide to run a little experiment. I don’t usually score graham rolls, but I want to see how they look when they’re scored. I use a scalpel to cut a cross. Then I place the rolls in a preheated oven. They’ll bake for around 15 minutes. Graham rolls don’t become browned a lot so it’s a bit difficult to visually tell when exactly they’re ready.
I remove the first batch from the oven. They don’t look as good as I’d hoped. The cuts weren’t deep enough.
I leave most of the rolls in the second batch unscored. I only score one using scissors. I make the cuts at a 45 degree angle. I place one blade over the roll’s centre, the other one over the side. I make four incisions, creating four horn-like protrusions. Next, I place the rolls in the oven.
Once they’re baked, I see that the scissors did a very nice job compared to the scalpel. The “horns” on the experimental roll created a very interesting shape. I place all the rolls on a wire rack to let them cool down without the water vapour making them soggy on the bottom.
Since the first batch is already cool enough to eat, I decide to taste one. The bottom is perfectly baked through, which I can tell by knocking my finger against it. It should make a hollow sound. The roll is soft. I cut the roll open and I can see the crumb is dark and rather tight. The aroma is rich, just as the taste is. Graham rolls are great for making sandwiches and provide a certain amount of dietary fibre. It’s one of the healthiest and, in my opinion, tastiest types of bread.

