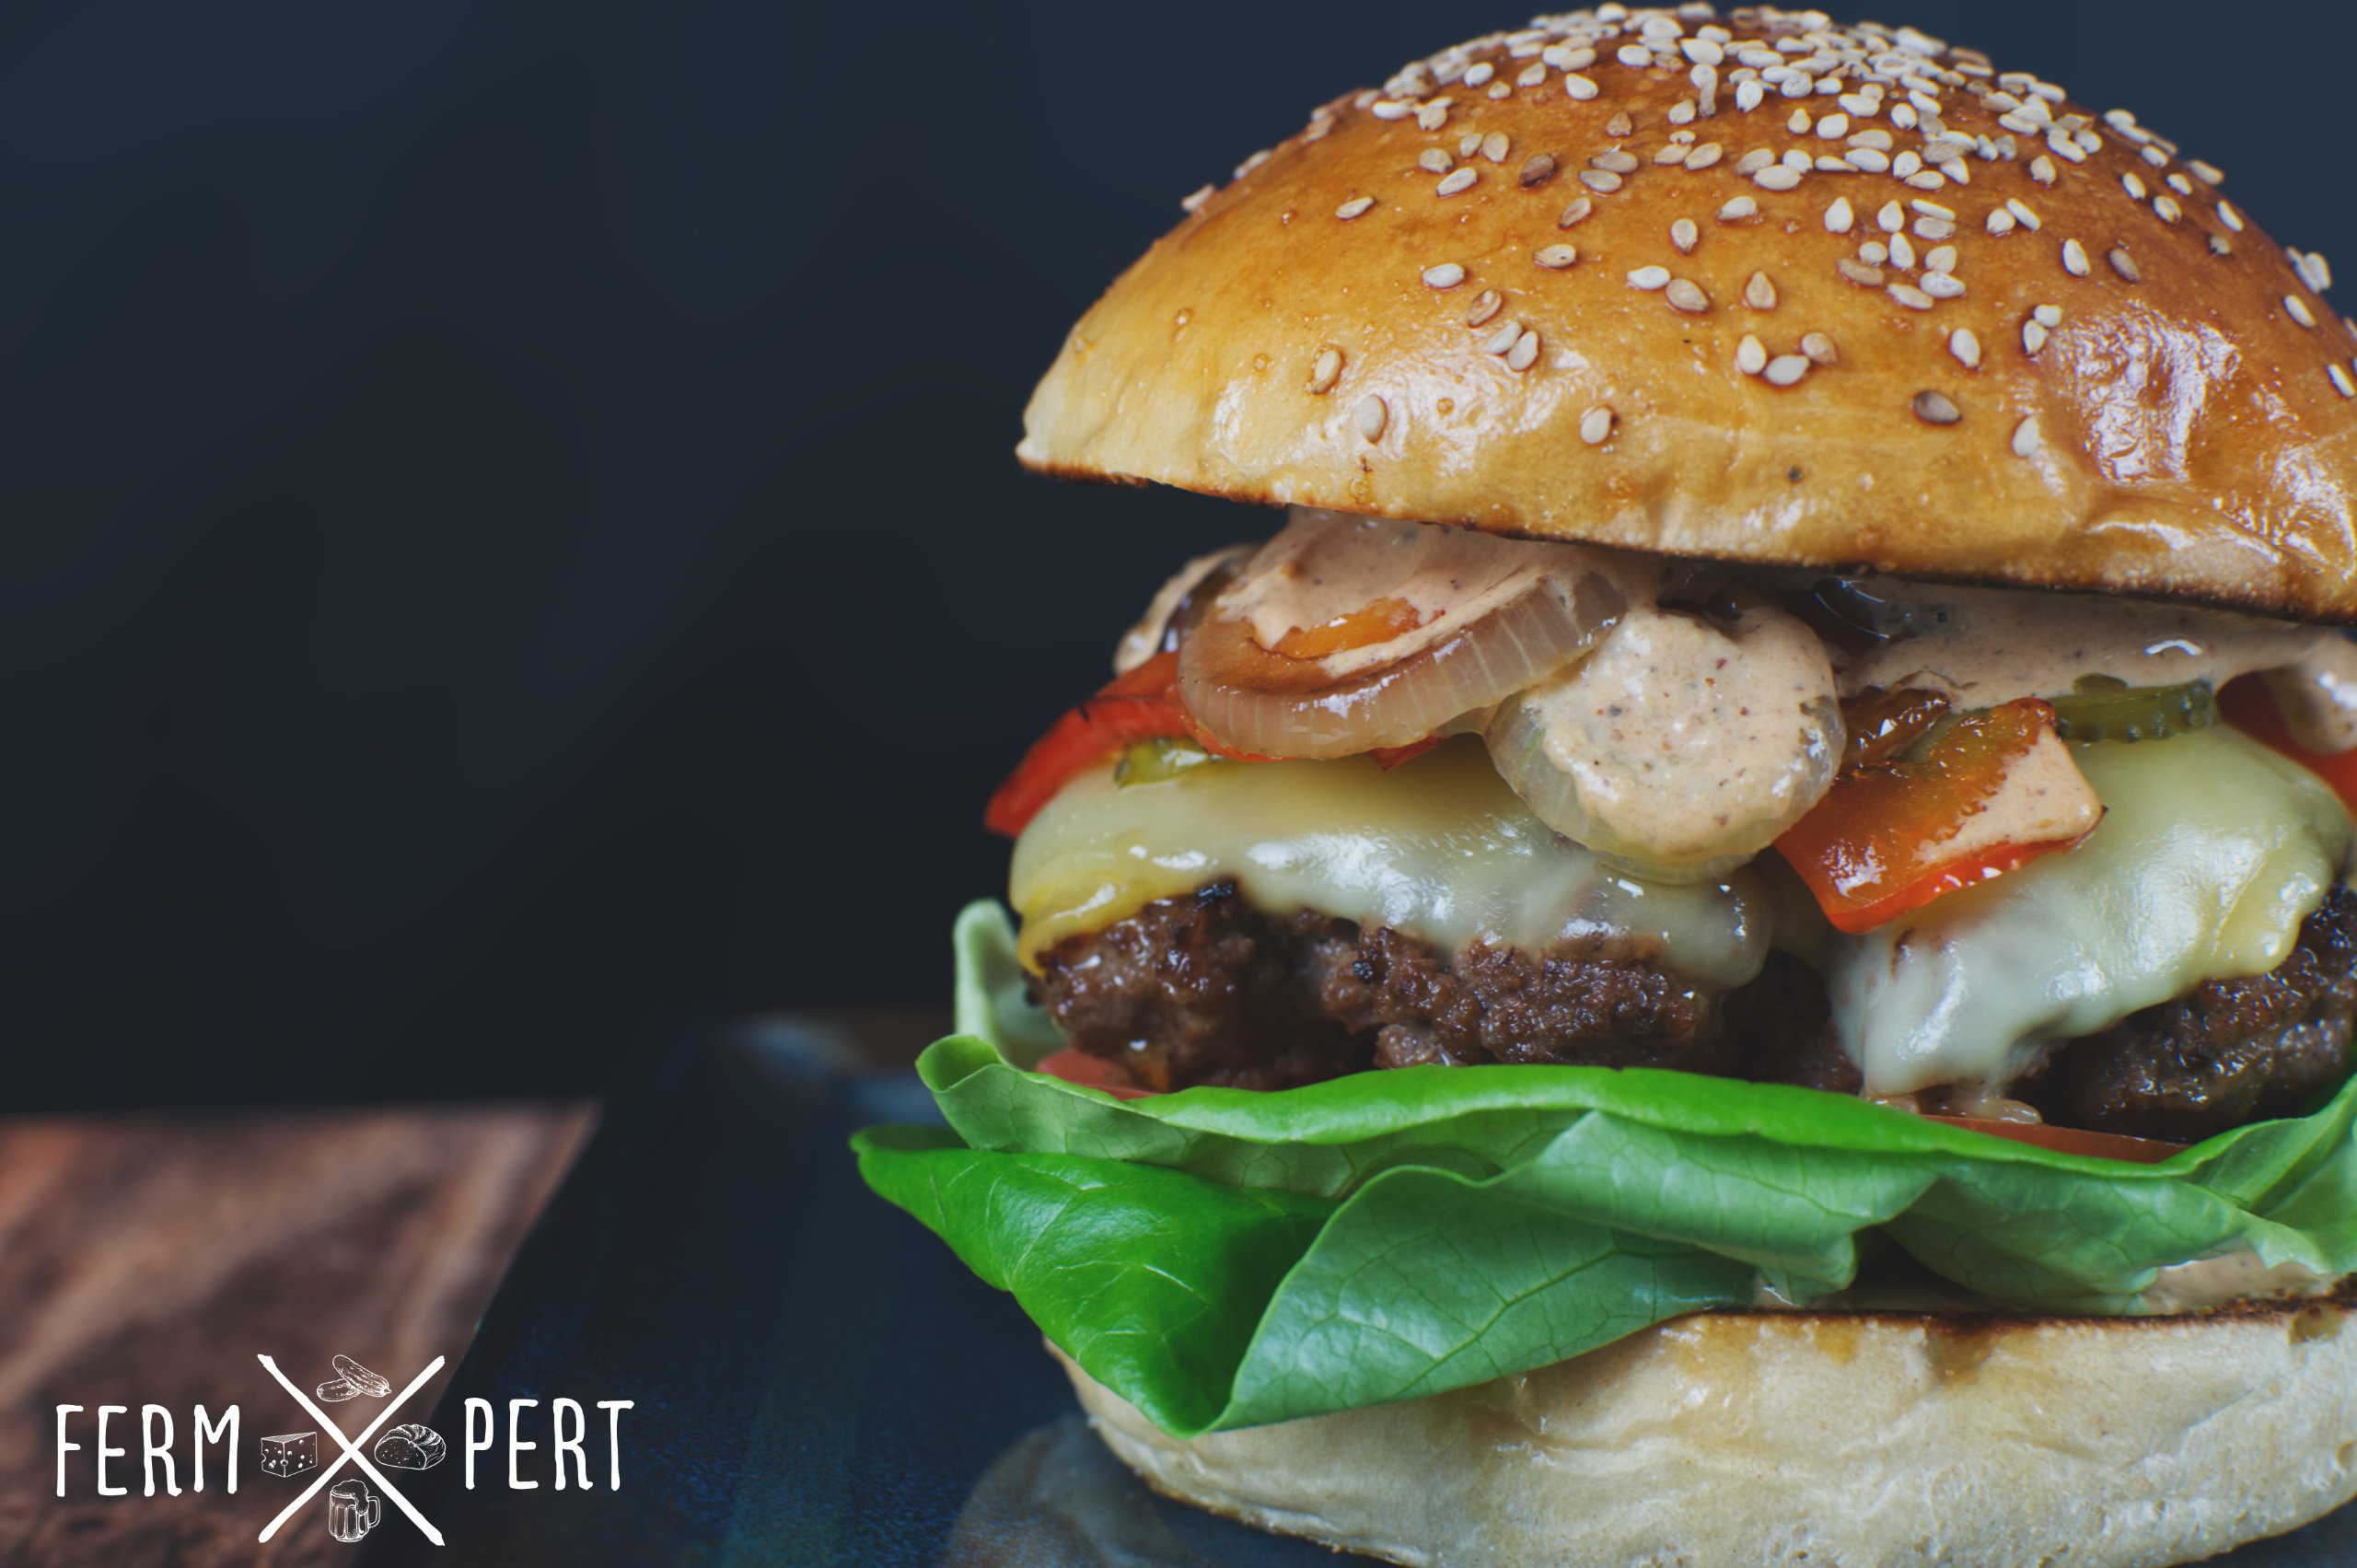
Hamburgers are a flagship dish in many a fast food chain around the world. But do they deserve bad publicity? As with every dish, a hamburger can be truly great. And the first step to getting there is baking a delicious homemade bun.
Recipe
- 250 g strong white wheat flour
- 100 g water
- 20 g melted butter
- 20 g sugar
- 8 g fresh yeast or 4 g dried yeast
- 5 g salt
- 1 egg (approx. 60 g)
- optionally: sesame seeds
Mix the flour, water, yeast, salt and sugar. Add the beaten egg, but reserve 10-20% of its volume for later in a separate dish. Knead for 10 minutes or until a strong gluten mesh is formed. It’s OK to use a stand mixer or a bread machine.
Initial prove: until the dough at least doubles in size. This can take well over 2 hours, depending on ambient temperature and yeast condition.
Knock the dough back, fold it and divide into 4 equal pieces (around 100 g each). Form round balls and place them on a parchment paper lined baking sheet.
Final prove: until the dough balls double in size.
Apply egg wash to the buns using the reserved egg. Sprinkle with sesame seeds.
Bake in 190°C (374°F) until golden brown (around 15 minutes).
Additional Information
The buns can be prepared in a slightly healthier way by substituting up to 20% of the flour with wholemeal flour.
The sesame can be swapped for any kind of seeds. I’ve come across nigella multiple times, I’ve also seen linseed and oatmeal used. My personal favourite sesame substitute is poppy seeds.
Video Transcription
Hamburgers. Who doesn’t love them? I know I do. I make them on a regular basis and I’ve learned all the things that make or break a burger. One of them is the bun. And that’s exactly what I’m making today: soft and delicious homemade burger buns. A full written recipe with all the ingredient amounts can be found on the blog.
I’m dealing with an enriched dough, so the ingredient list is a bit longer than in the case of regular bread. I will be using strong white wheat flour, sugar, egg, melted butter, salt, water and yeast. As usual, I’m using fresh yeast, but dried is fine too – all it needs is reducing its amount by half.
I start by tossing the sugar into the water. I also add in the yeast and the salt. I stir the mix until everything is at least somewhat dissolved.
Once I’m done stirring, I pour the mix into the flour bowl. I scrape the remains of undissolved sugar with a silicone spatula. It also comes in handy to transfer all of the melted butter into the bowl.
I crack the egg and put it in a separate bowl. I need to whisk it to combine the yolk with the white. Then I pour most of the egg into the flour bowl. I reserve the final bit, somewhere around 10-20% of the total volume of the egg, to serve as an egg wash later.
I proceed to mix the dough. I start using a dough scraper. As soon as the dough starts coming together, I flip it onto the counter. Kneading it is a bit of a chore, so a stand mixer or a bread machine is always a good alternative. The dough starts out quite sticky. The addition of butter doesn’t make things easier either since fat tends to inhibit gluten formation. Over time though, the dough becomes more and more cohesive. After ten minutes, it’s nice and smooth. It doesn’t stick to the counter or my hands anymore and the windowpane test indicates good gluten formation. I’m able to stretch the dough very thin, almost translucent, before it starts tearing. I round the dough a bit and pop it into its bowl. I cover it with cling film to prevent the dough from becoming dry.
During fermentation, the yeast, Saccharomyces cerevisiae, feast on the sugars in the dough. The flour primarily consists of starch, which is not fermentable, but there’s also the enzyme, amylase, which slowly breaks starch down, producing maltose. The yeast cells consume that and in turn excrete ethanol and carbon dioxide. It’s the carbon dioxide, trapped in the dough by the spongy structure made up of gluten, that makes the dough rise.
As it’s common for most enriched doughs, the proving time is a bit longer than usual. In my case, it’s around an hour and a half, but it’s better to go by dough volume instead of time. Mine pretty much tripled in size.
Handling the dough at this point isn’t exactly effortless as it’s still a bit sticky. I like to wet my hands in such a situation. I knock the dough back, which basically means I remove the air from it. I fold it a couple times, which also equalises the temperature in the dough.
I weigh the degassed dough. I need to divide the mass by the intended number of buns to obtain the mass of a single bun. Then I cut the dough into pieces of equal mass.
Forming a bun is simple. First, I flatten a piece of dough. Then, I fold the edges towards the middle. This creates a bit of tension on the bottom side of the doughball. I place it seam down on the counter and rotate and drag it a few times to stretch the gluten membrane even more. Once it’s formed into a nice and round ball, I place it on a baking tray.
I prove the buns uncovered. The dough is sticky and I’d rather not risk breaking the gluten membrane on the surface. My buns take almost an hour to more than double in size, but again, dough volume is more important than proving time.
Using a brush, I coat the buns with the reserved egg wash. It serves a double purpose. It will make the buns deliciously golden brown and glossy in the oven. It will also serve as glue for any seeds I might sprinkle the buns with. I go for sesame, but anything goes here, really. Poppy seeds or nigella are both awesome choices, and going seedless is also an option.
I place the baking tray in a preheated oven and bake until the buns are nicely golden brown. It takes around 15 minutes. I place the buns on a wire rack to let them cool down. Once they’re cold, two will go into the freezer for use on another day. Yes, the burger buns freeze well, so it’s always a good idea to prepare a bigger batch in advance.
I’ll use the remaining two to make burgers straight away. Burger perfection is a very individual thing, so I’ll just skip commentary here.
Finally, it’s tasting time! Well, there’s really no elegant way of having a burger. The juices from the meat mixed with the sauce always drip and make a mess. I’m not even going to clean my face until I’m done. It’s so delicious!

