Home baking can initially seem a bit overwhelming. In reality, there exist recipes that are really simple, require no prior baking experience, and above all, are completely infallible every time. Such is the recipe I present below.
Recipe
- 500 g of strong white wheat flour
- 375 g of water
- 10 g fresh yeast or 5 g dry yeast
- 10 g salt
- optionally: 10 g neutral tasting oil
Pour the water into a bowl and mix in the yeast and oil. Add flour and salt and mix until all ingredients come together. Stop mixing as soon as there’s no more dry flour in the mix. Leave the dough covered and let it rest for an hour.
Fold the dough in 30 minute intervals until a strong gluten network is formed (the dough should be extensible to the point of becoming translucent without breaking). Usually, it’s enough to repeat the folding procedure three times.
Cover the dough and let it prove. It should at least double its volume.
Knock the dough back. Form a tight ball and sprinkle over some rice flour. Let the dough rest on the kitchen counter for 5-15 minutes so the gluten can relax.
Flip the dough seam side up, flatten and roll into a loaf. Its length should roughly match the length of the baking tin. Place the rolled dough seam side down inside the tin lined with parchment paper. Leave to prove.
Bake with steam in 230°C (450°F) for 35-45 minutes or until golden brown. After baking, let the loaf cool down on a wire rack.
Additional information
It’s optimal to control the ingredient amounts using a kitchen scale. Since most kitchen scales are capable of calculating mass in grams, I do not offer imperial equivalents of the measurements.
The ingredient proportions are for a standard 26 by 11 cm baking tin (10 by 4 inches). In case of a larger or smaller tin, the ingredient amounts can be modified according to the below formula:
- The mass of the flour is the base of the calculations.
- Water constitutes 75% of the flour mass (75% dough hydration).
- Salt is 2% of the flour mass. This can be tweaked a little. Anywhere between 1.5% and 2.5% will result in a tasty bread.
- Fresh yeast is 2%, while dry yeast is 1% of the flour mass.
- Oil is 2% of the flour mass.
So, a larger tin will require the following proportions: 600 g flour, 450 g water, 12 g salt, 12 g fresh yeast (or 6 g dried), 12 g oil.
A smaller tin will require 400 g flour, 300 g water, 8 g salt, 8 g fresh yeast (or 4 g dried), 8 g oil.
I recommend using strong white wheat flour, with a minimum of 12% protein content. This will result in the formation of a strong gluten network. Part of the white flour, up to around 20%, can be substituted with wholemeal flour, rye or wheat. It’ll make the bread taste better, but the dough will be stickier and more difficult to work with. In case strong wheat flour is unavailable, all purpose flour can technically be used, but I’d suggest skipping the wholemeal flour addition in such a case.
A 75% hydration is high, so the dough will be sticky and it’s best to always handle it with wet hands. If such a high hydration is an issue, it can be lowered to 65% (325 g water per 500 g flour).
Video transcription
Years ago, baking bread at home looked to me like a daunting task. Turns out, it’s actually fun and rewarding. It’s always nice to start with something simple. This is what this recipe is for. There’s no kneading involved, having a jar of sourdough is unnecessary, and the steps are so uncomplicated it’s hard to mess anything up. The exact ingredient amounts can be found in the written recipe on the blog.
All I need are four ingredients: flour, water, salt and yeast. I toss in some oil too, but it’s optional. I bake the loaf in a tin. Preparation time is around 6 hours, the vast majority of which is simply waiting.
I begin with the measured amount of water. Next, I add yeast and mix until it roughly dissolves. I use fresh yeast in this particular case, but dry yeast will work just as well, with the caveat that only half as much needs to be used.
I add my flour. It should be strong bread flour, with a high protein content, 12% at least. It’s perfectly fine to use all white flour, but I went with 20% wholemeal rye. The dough will be stckier, but the bread will be tastier.
I fill the empty flour bowl with water. I’ll need it in a second.
I toss in the salt. Next, I add a neutral tasting oil, grapeseed in this case. The oil doesn’t evaporate, so it prolongs the bread’s shelf life by slightly delaying the drying process.
I mix the ingredients until the flour is fully hydrated. I don’t knead. The dough is sticky, so I dip my hands in the prepared water from time to time. Dough doesn’t stick as much to wet hands. I stop as soon as there’s no more dry flour in the dough. I use a bench scraper to remove bits of dough from the bowl’s walls.
This is what a fully hydrated dough looks like. I’ll put the bowl aside in just a moment, but first I cover it with a damp tea towel so the dough doesn’t dry out.
Various biochemical processes start at this point.
The enzyme, amylase, starts to break down starch into simpler carbohyrates. Maltose is the most important one.
The yeast, specifically Saccharomyces cerevisiae, while having a preference for glucose, is capable of digesting maltose. The products of this process are ethanol and carbon dioxide. The leavening action is based on trapping the carbon dioxide in the dough.
At the same time, gluten starts to form. In the presence of water, two proteins, glutenin and gliadin, connect with each other. This combination is what we call gluten, and this is what holds carbon dioxide alveoli in place, leavening the dough.
I return after 30 minutes have passed and fold the dough.
Folding is what it sounds like: stretching the dough up and folding it over itself. This is repeated several times so that the dough is stretched from all sides, until it starts to resist further stretching. I do the folding with wet hands; this prevents the dough from sticking. I repeat the folding procedure 3 or 4 times in 30 minute intervals until a strong gluten network is formed.
Well developed gluten can be recognised by how the dough feels and behaves: it’s smooth, elastic and can be stretched so thin it becomes translucent without tearing. This is called the windowpane test. My dough is telling me it’s not ready. It’s stretchy, but quickly tears.
After the third stretch and fold, I repeat the windowpane test and I’m able to stretch the dough so thin the light comes through before it starts tearing. Now I know that it has developed enough gluten. I can now get to the next stage, the initial prove. I allow my dough to ferment for two hours. It should at least double in volume.
This is what a nicely inflated dough looks like. It’s full of carbon dioxide and on the inside, beneath the gluten membrane, it resembles the crumb of baked bread. But for now, I knock the dough back, which is just a fancy term for removing the air from the dough. The yeast will inflate it again later.
Now I roll the dough into a ball. I stretch the sides and fold them into the centre, then rotate the dough and repeat until I get a stiff ball.
I place it on the counter, seam down, and pull it towards me, pressing my fingers against the ball’s bottom. This stretches the gluten even more. I don’t use flour since the dough needs to grab the counter. Once I’m done, I sprinkle some rice flour over it. Other flour types are OK here, even semolina, but I like rice flour since it doesn’t get absorbed. The dough ball will rest for a few minutes so that the gluten can relax and become more malleable. Then I’ll be able to easily shape the loaf without fear of the dough’s surface breaking.
I sprinkle the counter liberally with rice flour and place the dough seam side up on it. I stretch it into a roughly rectangular shape, making the edge closer to me roughly the same length as the tin I’ll be baking it in. Then I roll the dough into a cigar shape, gently pressing it every half turn or so. Then I place it in the tin, seam side down. The bread is almost ready for baking, all it needs is the final prove.
This stage is usually shorter than the initial prove. In my case, about an hour, though it’s better to forget the timer and monitor the dough’s appearance instead. The dough should at least double its volume and when poked with a finger, it should make no resistance, coming back slowly to the original shape. This is how I know it’s ready to be baked.
I preheat the oven with a metal container inside to hold some water. I use an old and scratched loaf tin, but any container is fine as long as it’s metal. Glass, even heat resistant, is likely to crack when water is poured. I pour a bit of boiling water in the container. The steam lets the loaf rise a bit more without its surface cracking. I put the bread in the oven.
I remove the steam source after 20-25 minutes, but the total baking time is 35 to 40 minutes or until nicely golden brown.
I was a few minutes late to take my bread out of the oven, but it’ll be delicious either way. I place it on a wire rack to cool down. Cutting it now would just make it dry out.
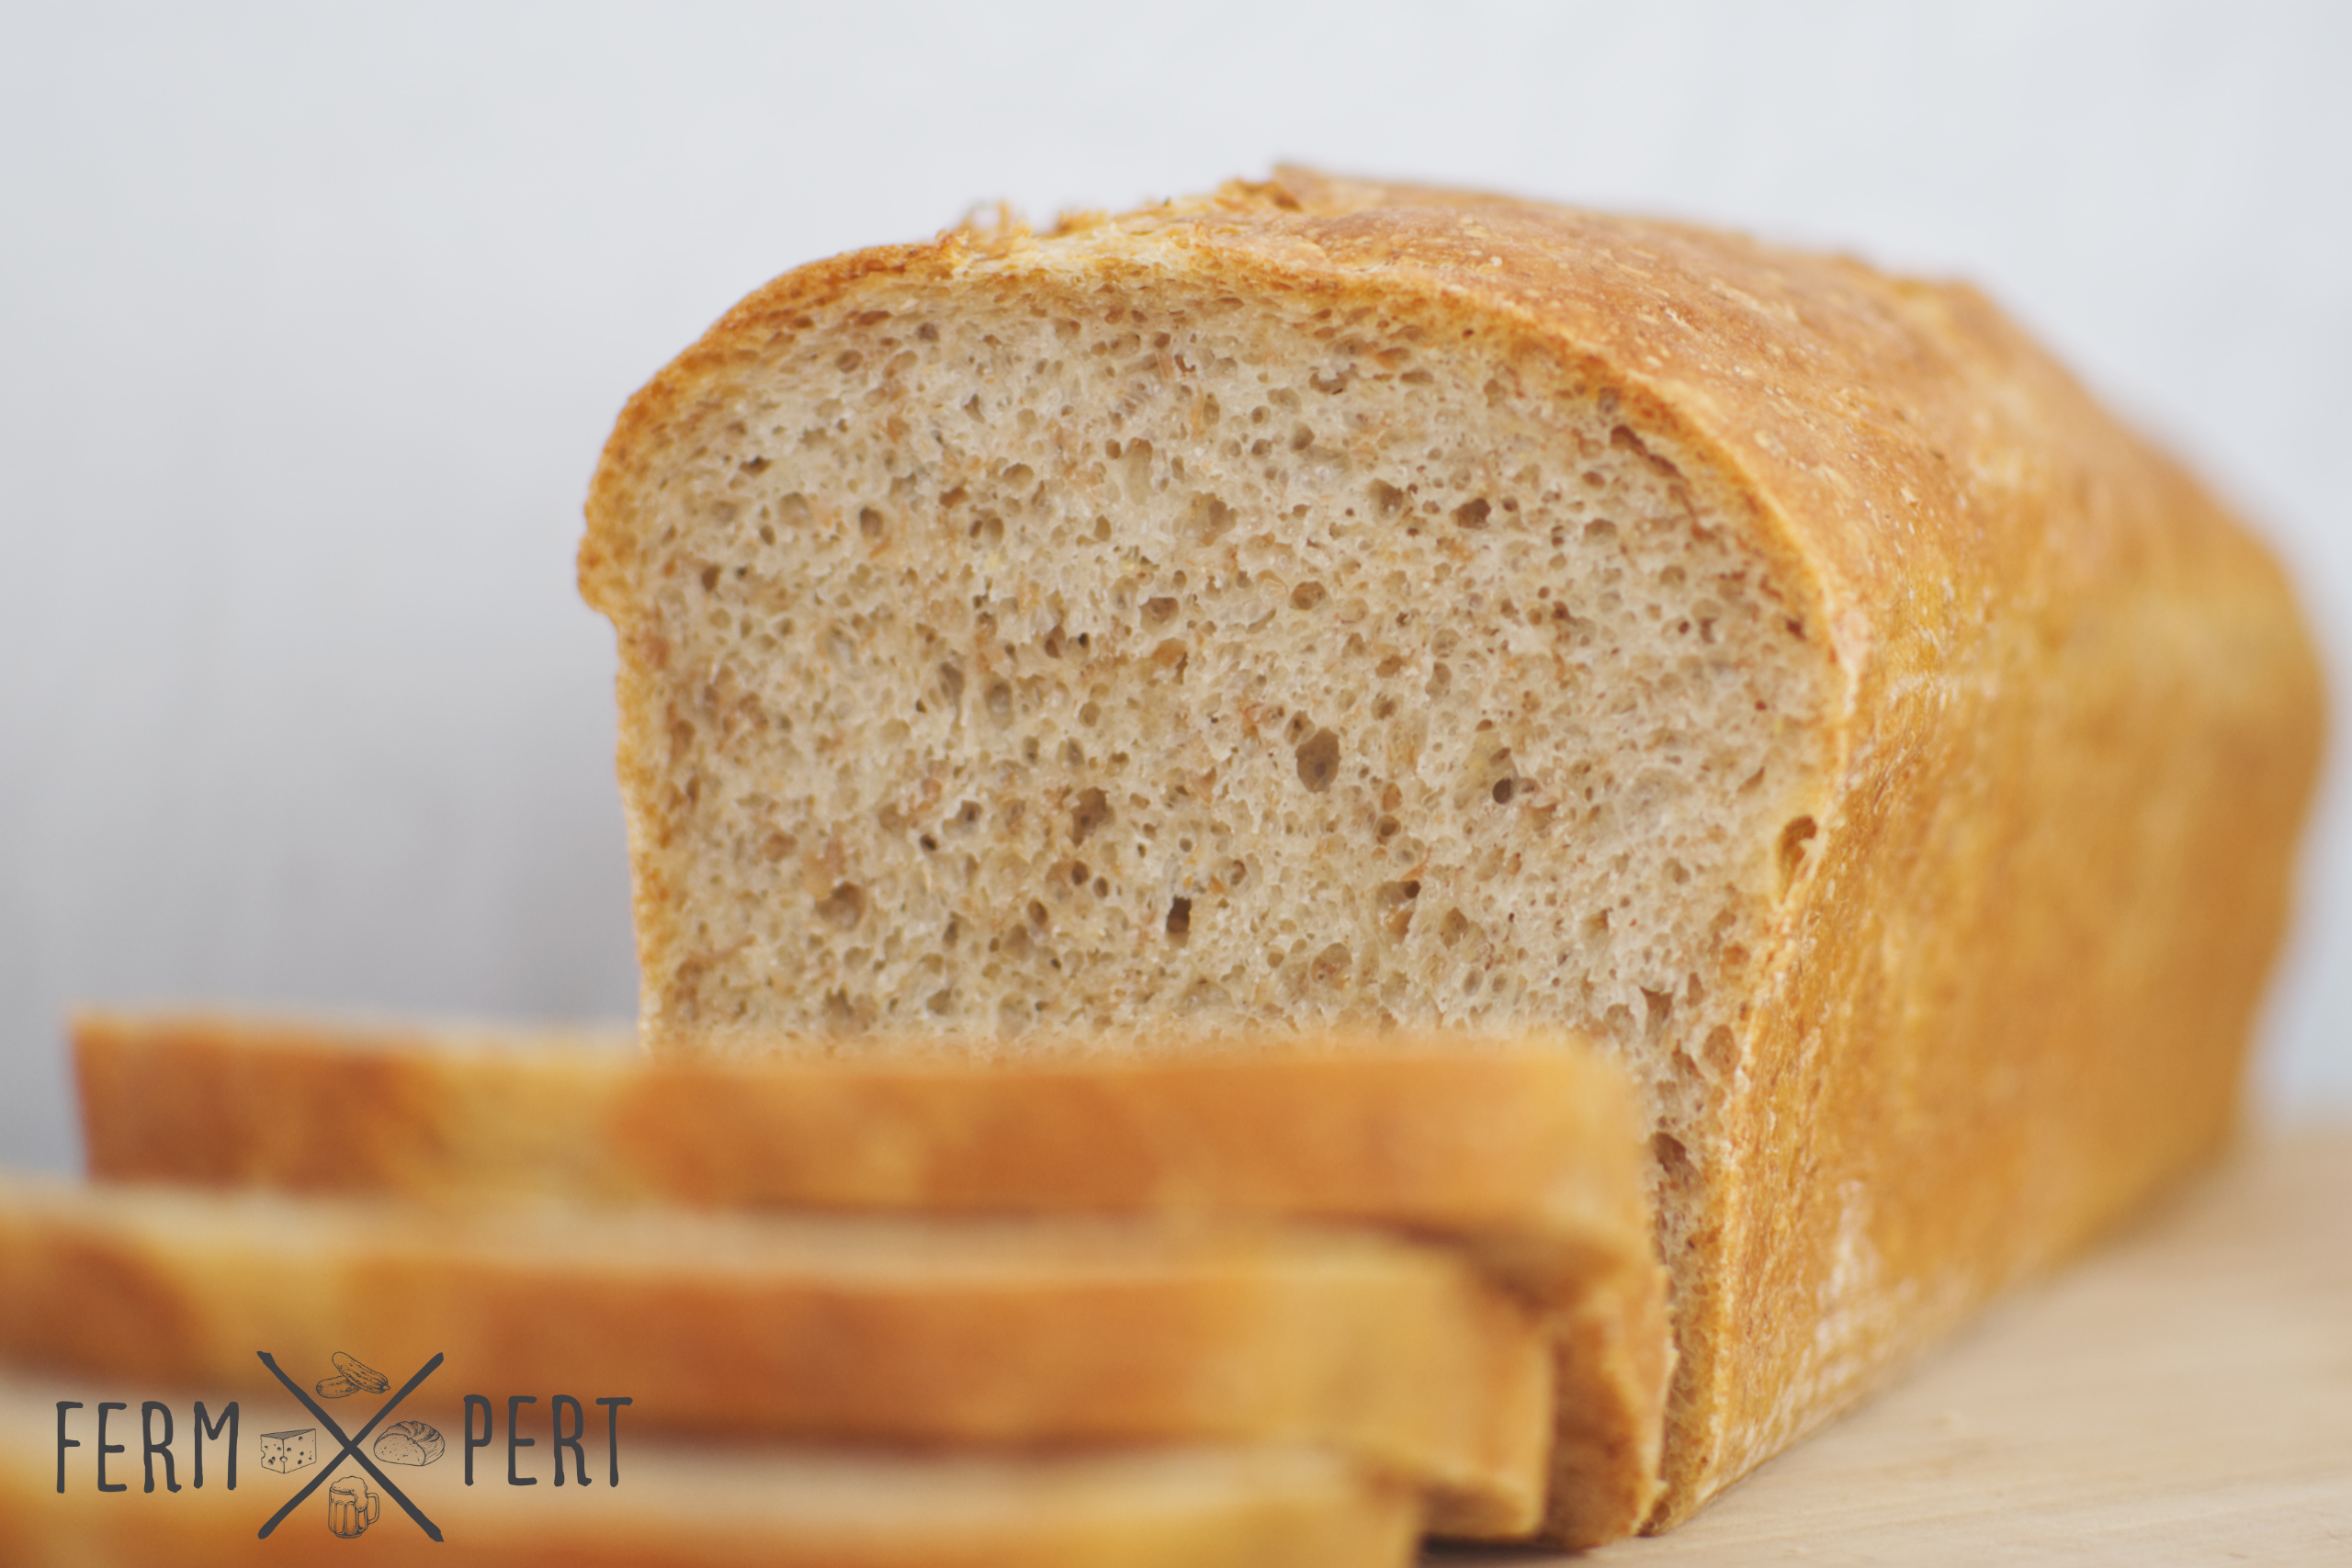
And finally, the long awaited moment. This type of bread has a rather thin crust and the crumb is relatively soft and fluffy. The yeast gives it a unique aroma and in my case, the rye flour adds an extra level of complexity. This bread keeps well in the freezer so I’ll freeze half of it and save it for later. We’ll be eating the other half over the next two days or so.

