My simplest yeasted bread recipe assumed that in order to make bread, only minimal work input is needed. Thanks to this approach, I managed to present a bread that can be baked in six hours, but with only ten minutes of actual hands on time. Today I’m going to present a variation of this recipe that will elevate the bread to another level. Despite a little extra work needed, time remains the main ingredient.
Recipe
Poolish
- 100 g strong white wheat flour
- 100 g water
- 2 g fresh yeast or 1 g dried yeast
Mix the ingredients thoroughly in a container and leave covered for 8 hours at room temperature.
Bread
- previously prepared active preferment
- 400 g strong white wheat flour
- 275 g water
- 10 g soli
- opcjonalnie: 10 g neutralnego w smaku oleju
Mix all ingredients thoroughly in a bowl. All the flour should be wet. Leave covered for an hour, then fold three times in 30 minute intervals. After the last fold, leave the dough covered to prove until it at least doubles in volume. Preshabe the loaf and leave on the counter for 15 minutes so that gluten may relax. Final shape the loaf and place in a baking tin. Prove until it doubles in volume again. Score the loaf. Bake with steam at 230°C (446°F) for 45 minutes.
Additional Information
The above recipe is based on my simplest yeasted bread recipe, so the additional information given there is also valid in this case.
A notable difference between the recipes is the use of a preferment. Here, instead of using 2% of yeast, I opted for a poolish preferment that prolongs the fermentation time but reduces the total amount of yeast needed to merely 0.4%. The preparation time is much longer this way, but at the same time, the long fermentation improves the aroma and taste.
This is because amylase contained within the flour for the preferment has much more time to convert starch to maltose, which in turn is consumed by the yeast.
Video Transcription
Yeasted bread can be so simple to make. Today I’ll bake a no-knead loaf similar to my simplest yeasted bread. This time though, I’ll go a step further and enhance its flavour at the expense of complexity and prep time. Is it going to be worth it? The full recipe with ingredient amounts can be found on the blog.
How do you bake yeasted bread? Let me know in the comments!
The first step is to make a preferment called poolish. It’s a mix of strong white wheat flour and water in a 1:1 ratio as well as a small amount of yeast.
The preparation is really simple. To a container, I add water and yeast. I disperse it a little, and then add the flour. I mix everything until it’s combined well. The poolish is a high hydration preferment so I can easily mix it with a teaspoon. I cover the container and let it sit on the counter overnight.
The next morning, I mix the bread dough. The preferment is now bubbly, ready to take more flour. The remaining ingredients are more flour, water and salt. I use a mix of strong white wheat flour and some wholemeal rye flour.
I start by mixing the flour and salt. Into a large bowl, I pour the water and then add the preferment. I give it a quick mix. Dry ingredients go in. I mix everything together until there’s no more dry flour. I can now cover the bowl and let it rest for an hour.
As soon as water is added to wheat flour, the proteins glutenin and gliadin begin to bond, creating a mesh-like structure that we call gluten. This is what holds air bubbles inside the dough.
After one hour, I proceed to fold the dough. I do it three times in 30 minute intervals. Here’s the first fold. Wetting my hands prevents the dough from sticking.
The second fold.
The third and final fold. I take a piece of dough and perform the windowpane test on it to check if gluten has developed properly. When stretched, it should become paper thin, almost translucent, before breaking. This is acceptable. Now, the dough will prove covered until it at least doubles in volume. Leaving it for longer is not an issue since yeast, unlike sourdough, does not produce lactic acid that deteriorates the gluten mesh.
The dough has risen nicely. I flip it onto the counter and knock it back, or remove gas from it. I proceed to preshape the dough. I flatten it, fold it inwards, flip and shape it into a tight ball. I leave it covered for 15 minutes. During this time, the tightened gluten mesh will relax.
In order to final shape the dough, I sprinkle rice flour over it. I flip the dough so the smooth side is on the bottom. I stretch it, fold the sides inward to form a wedge and roll it tightly. Into the tin it goes, seam down. I put the tin inside a container so that it doesn’t dry out while it proves. It’ll remain on the counter until it has doubled in volume.
I sprinkle some extra rice flour over the loaf. To score it, I use a scalpel, though a razor blade is usually the tool to do it. And into the preheated oven it goes.
This is what it looks like when the baking is over. Quite a nice looking loaf. I’ll let it cool down on a wire rack.
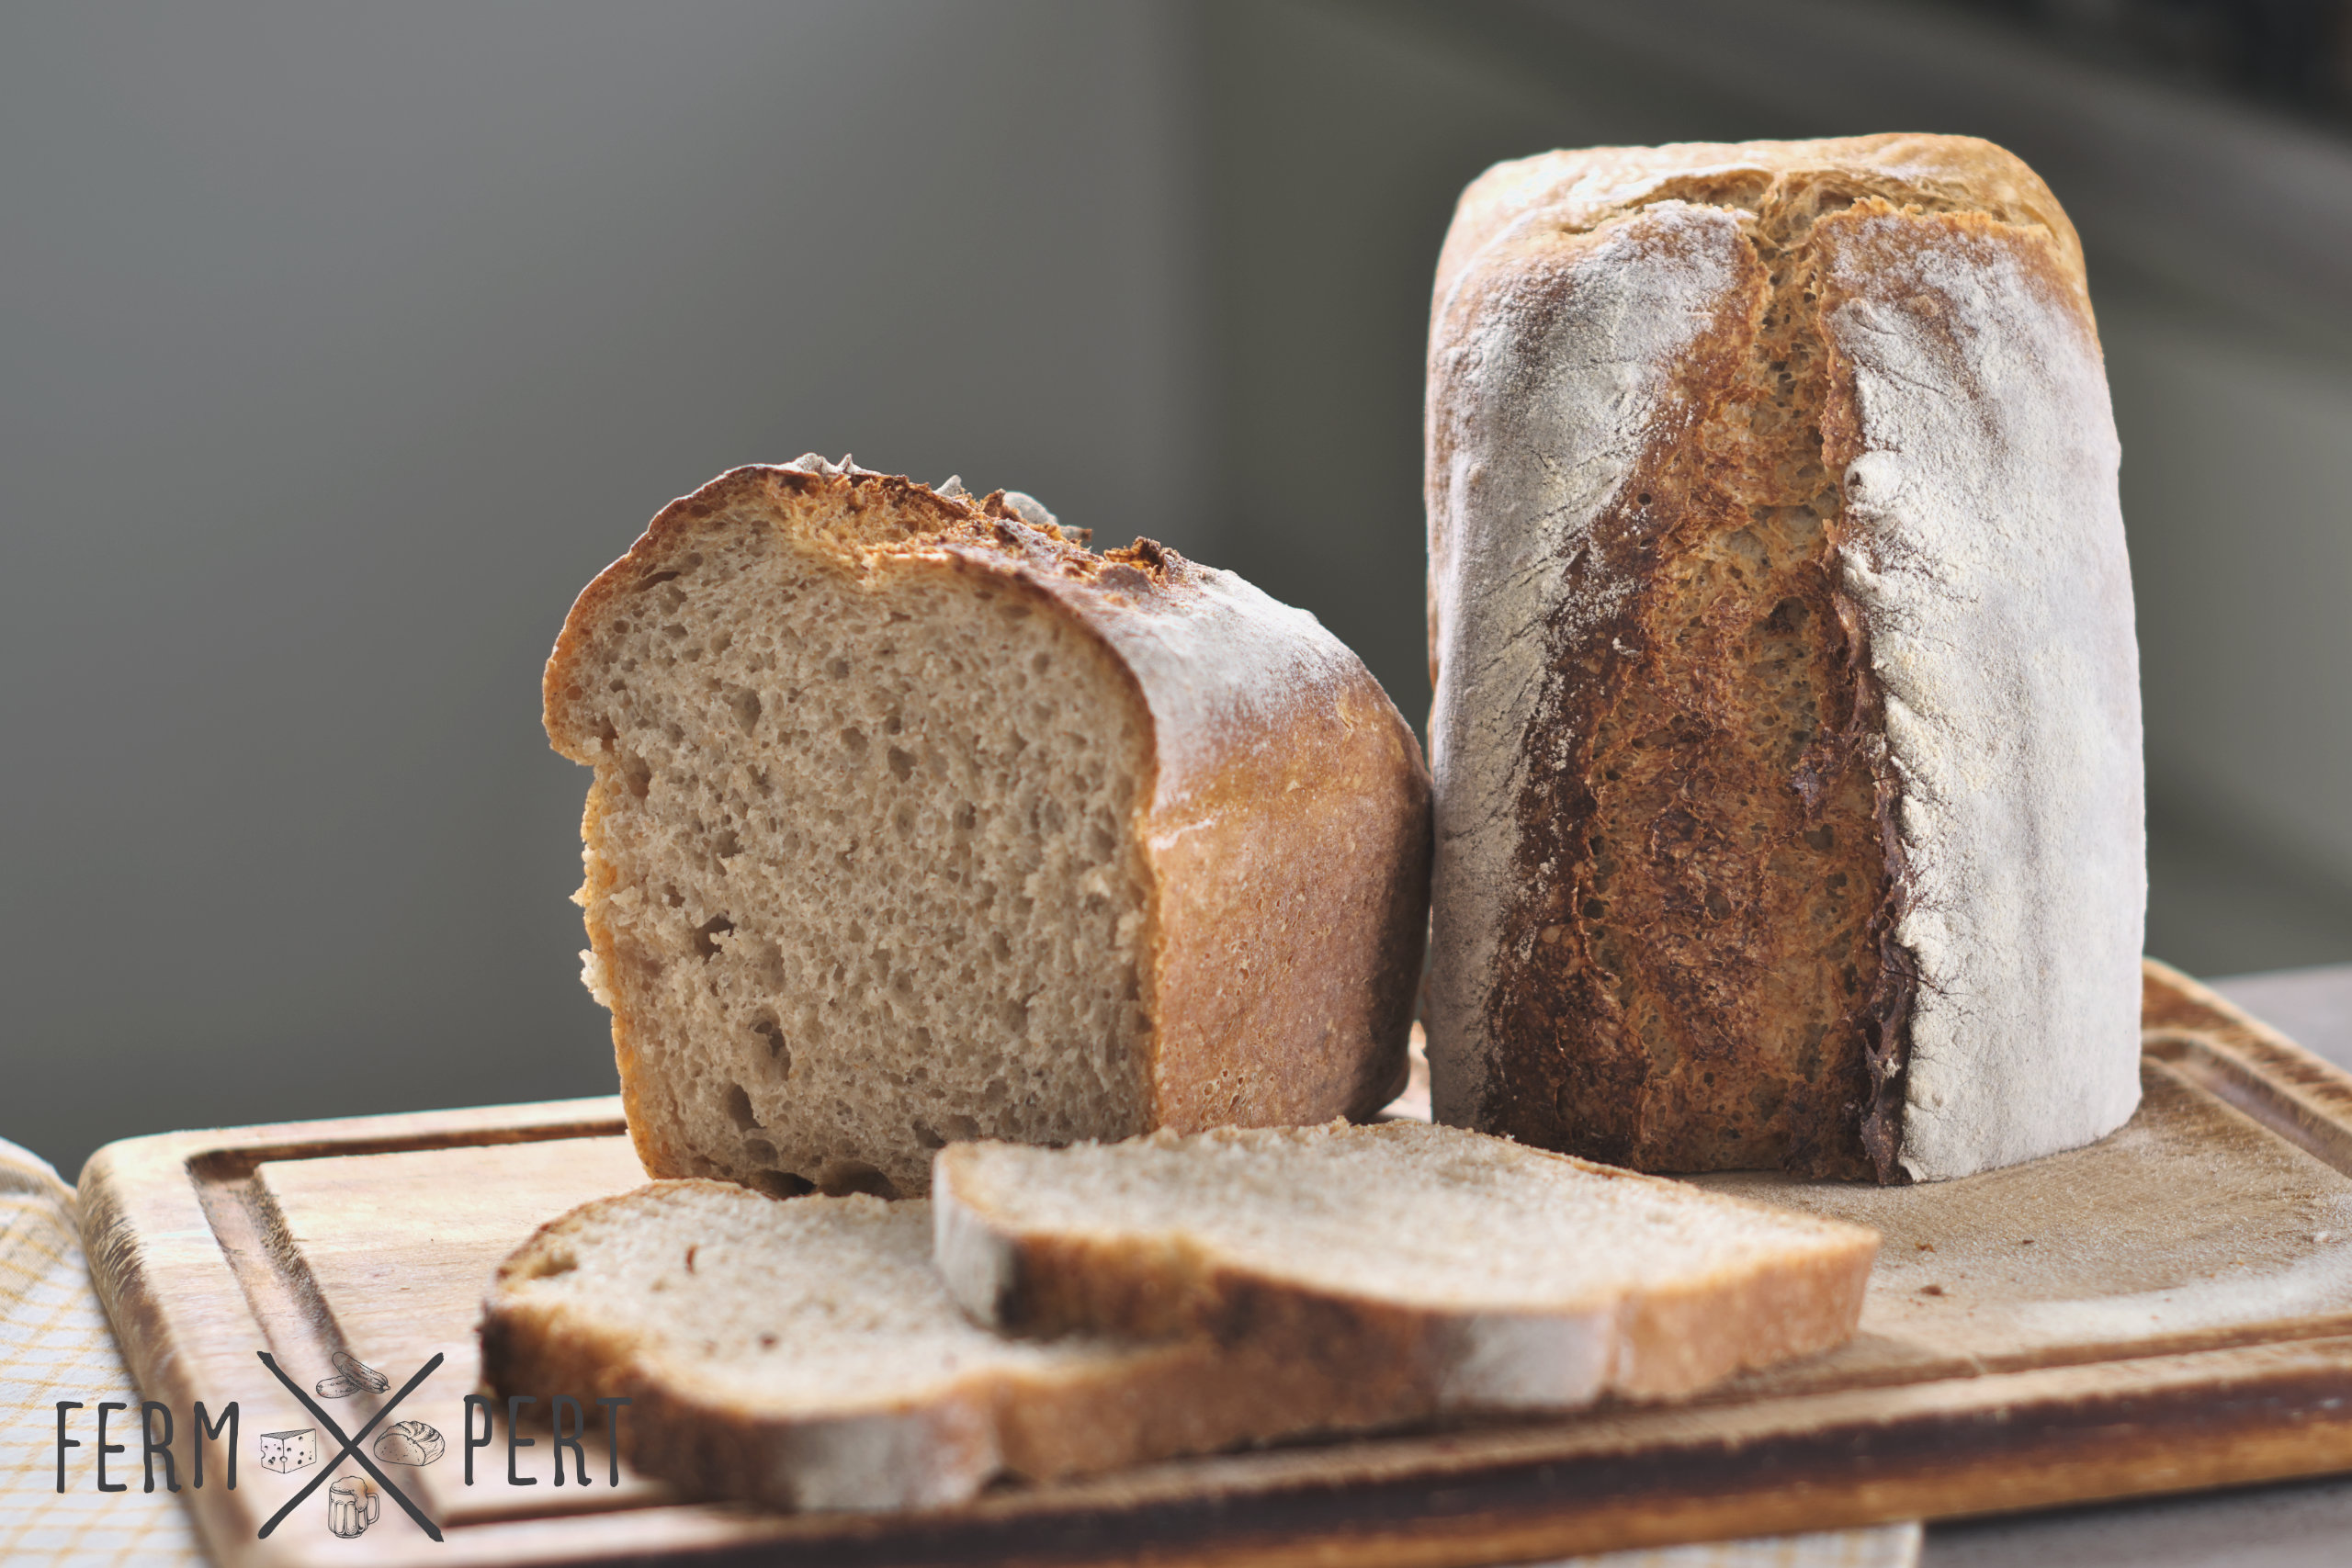
Alright, time to cut into it. The crust on the top is crunchy. The crumb on the other hand is soft. The alveoli are on the small side, with just a few medium sized ones. Ah, the wonderful aroma of fresh yeasted bread. The preferment makes it a bit more complex. Very pleasant. And the taste is great too. When baking yeasted breads, using a poolish is the method I just can’t go wrong with.

